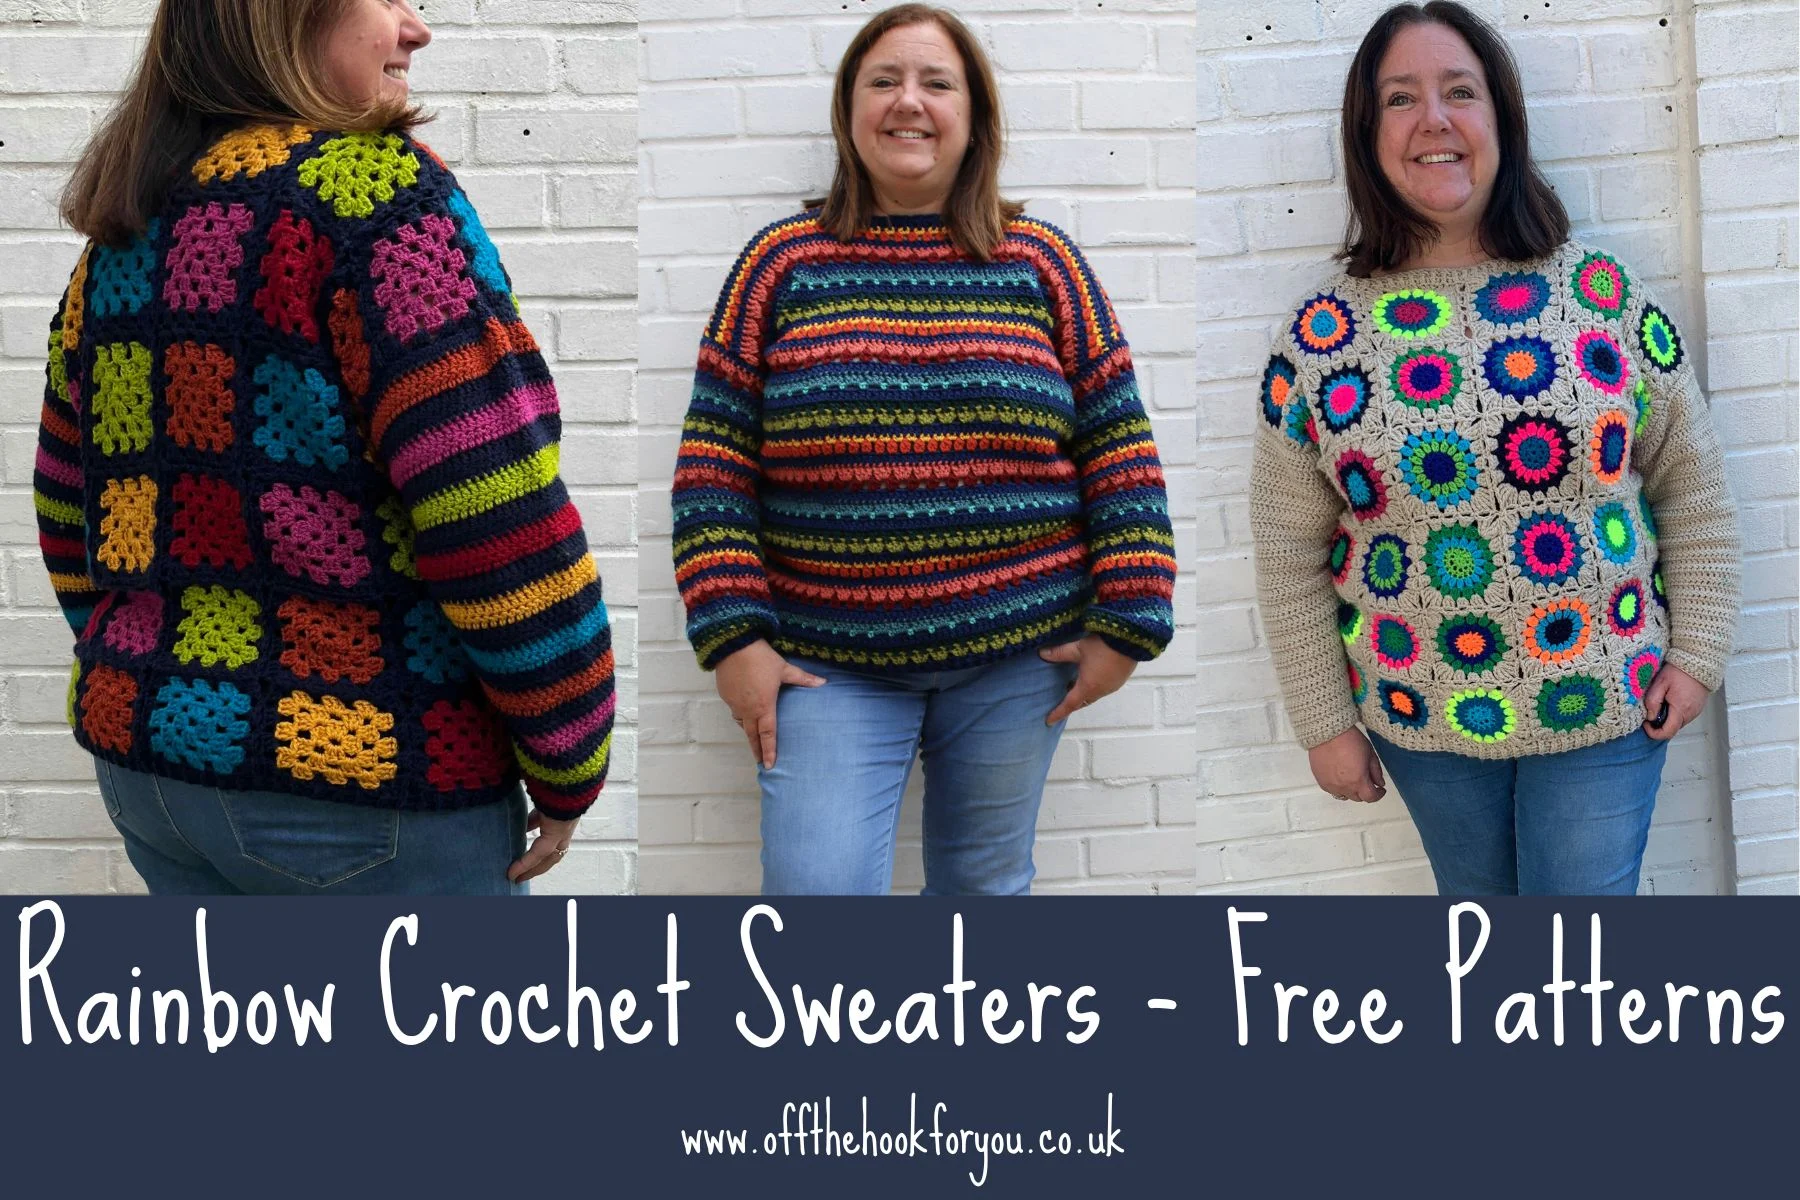
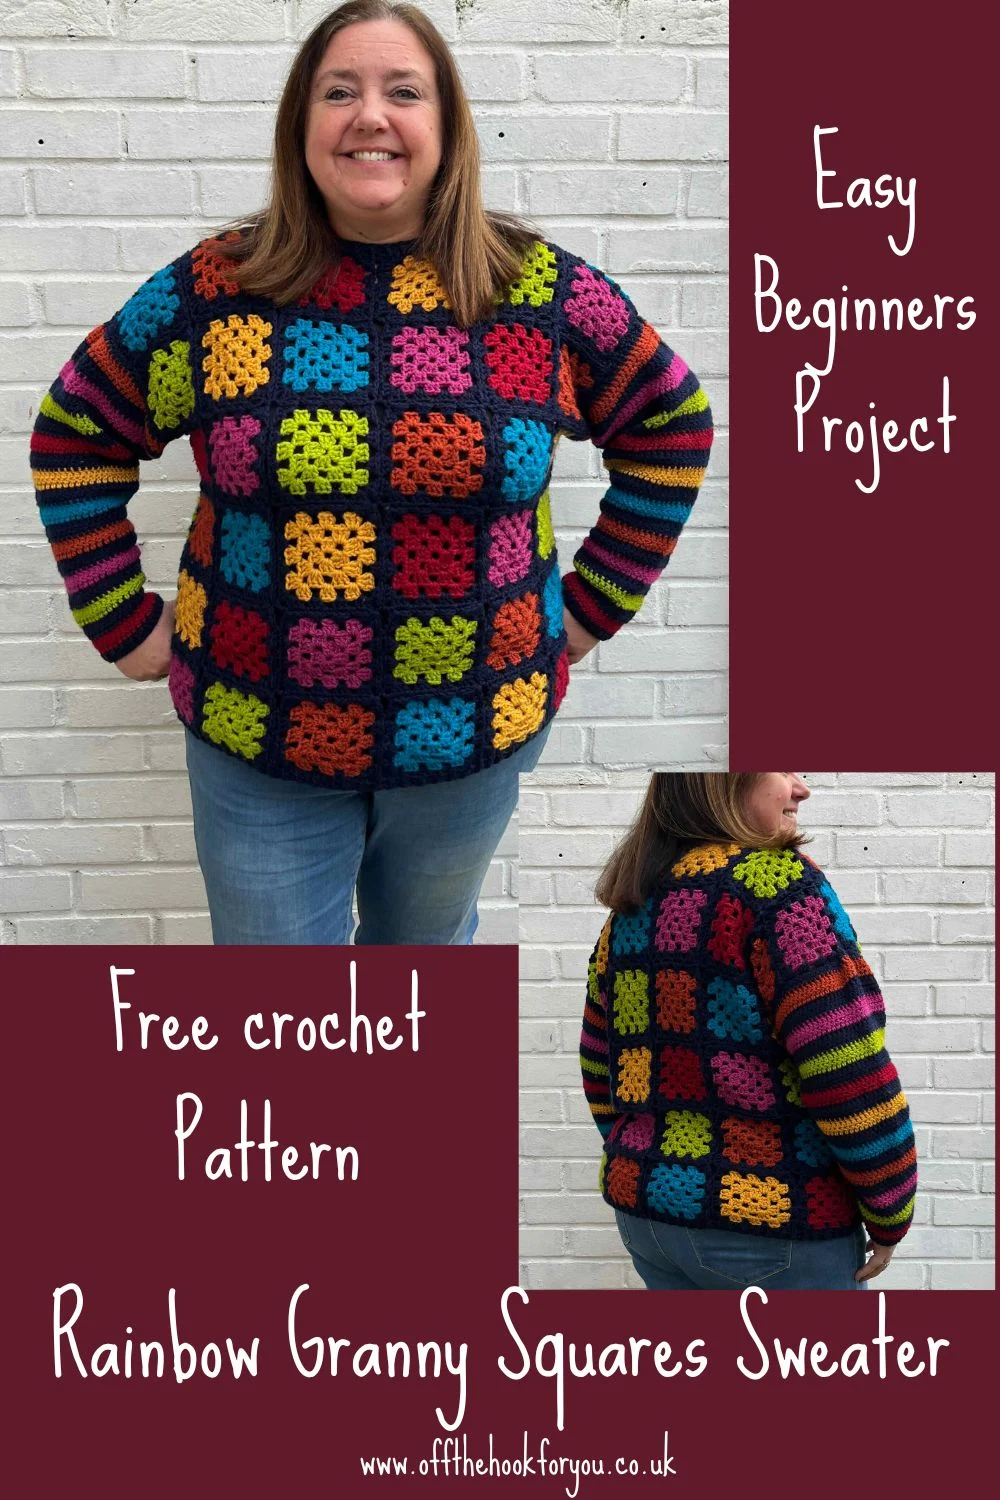
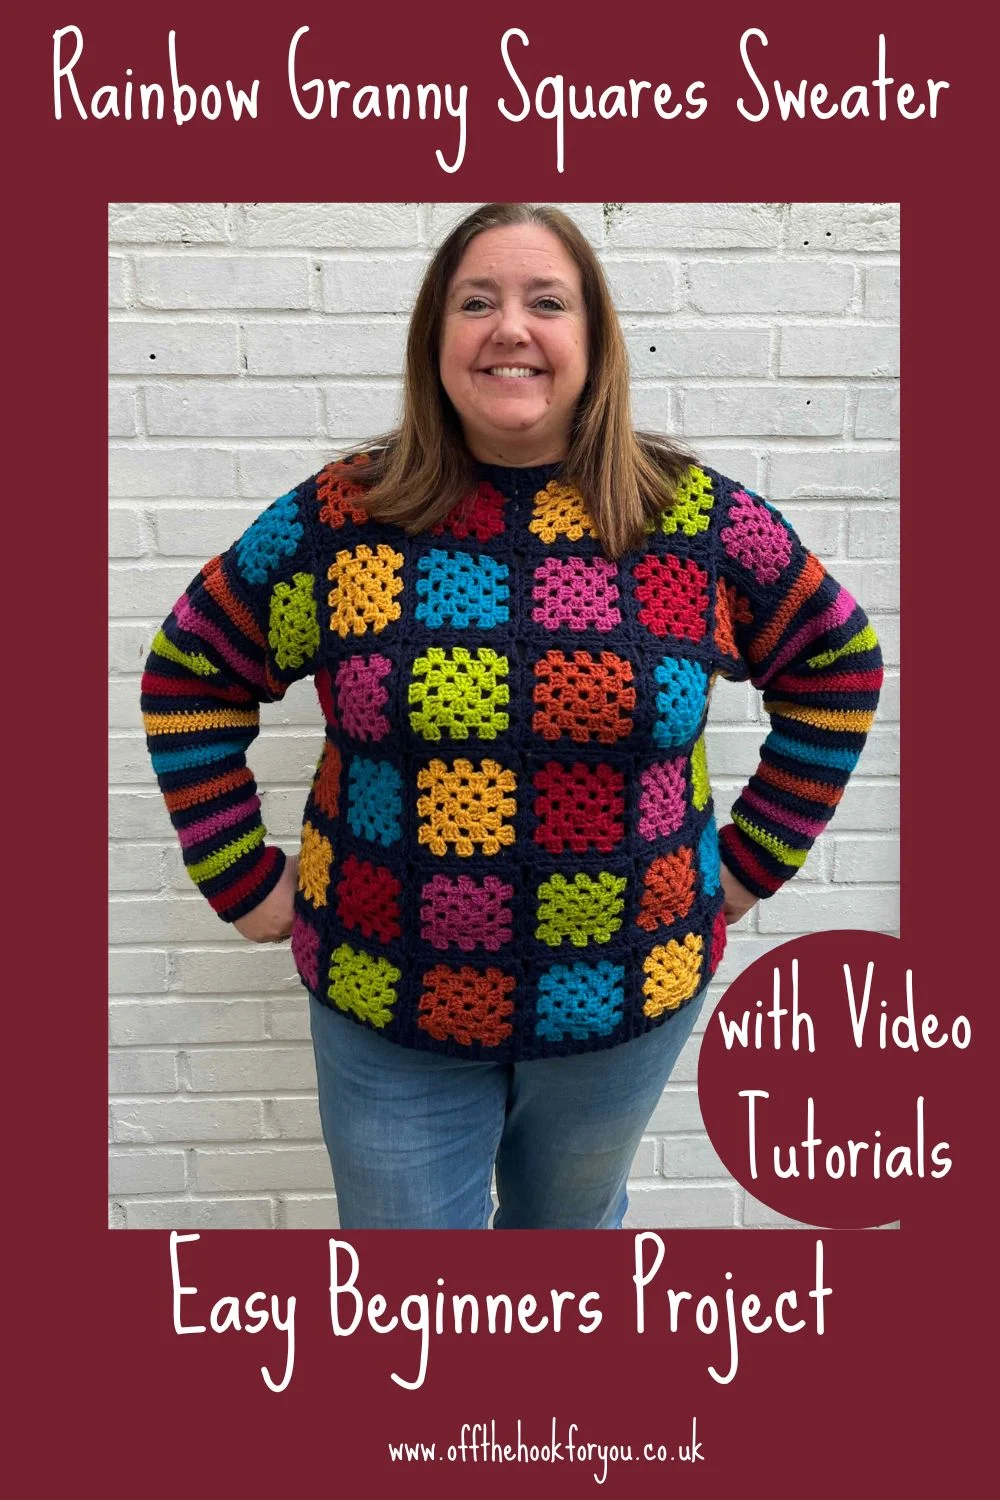
Here you can find the free crochet pattern for a Rainbow Granny Square Sweater. This is a great beginners pattern, and comes in XS – 5XL.
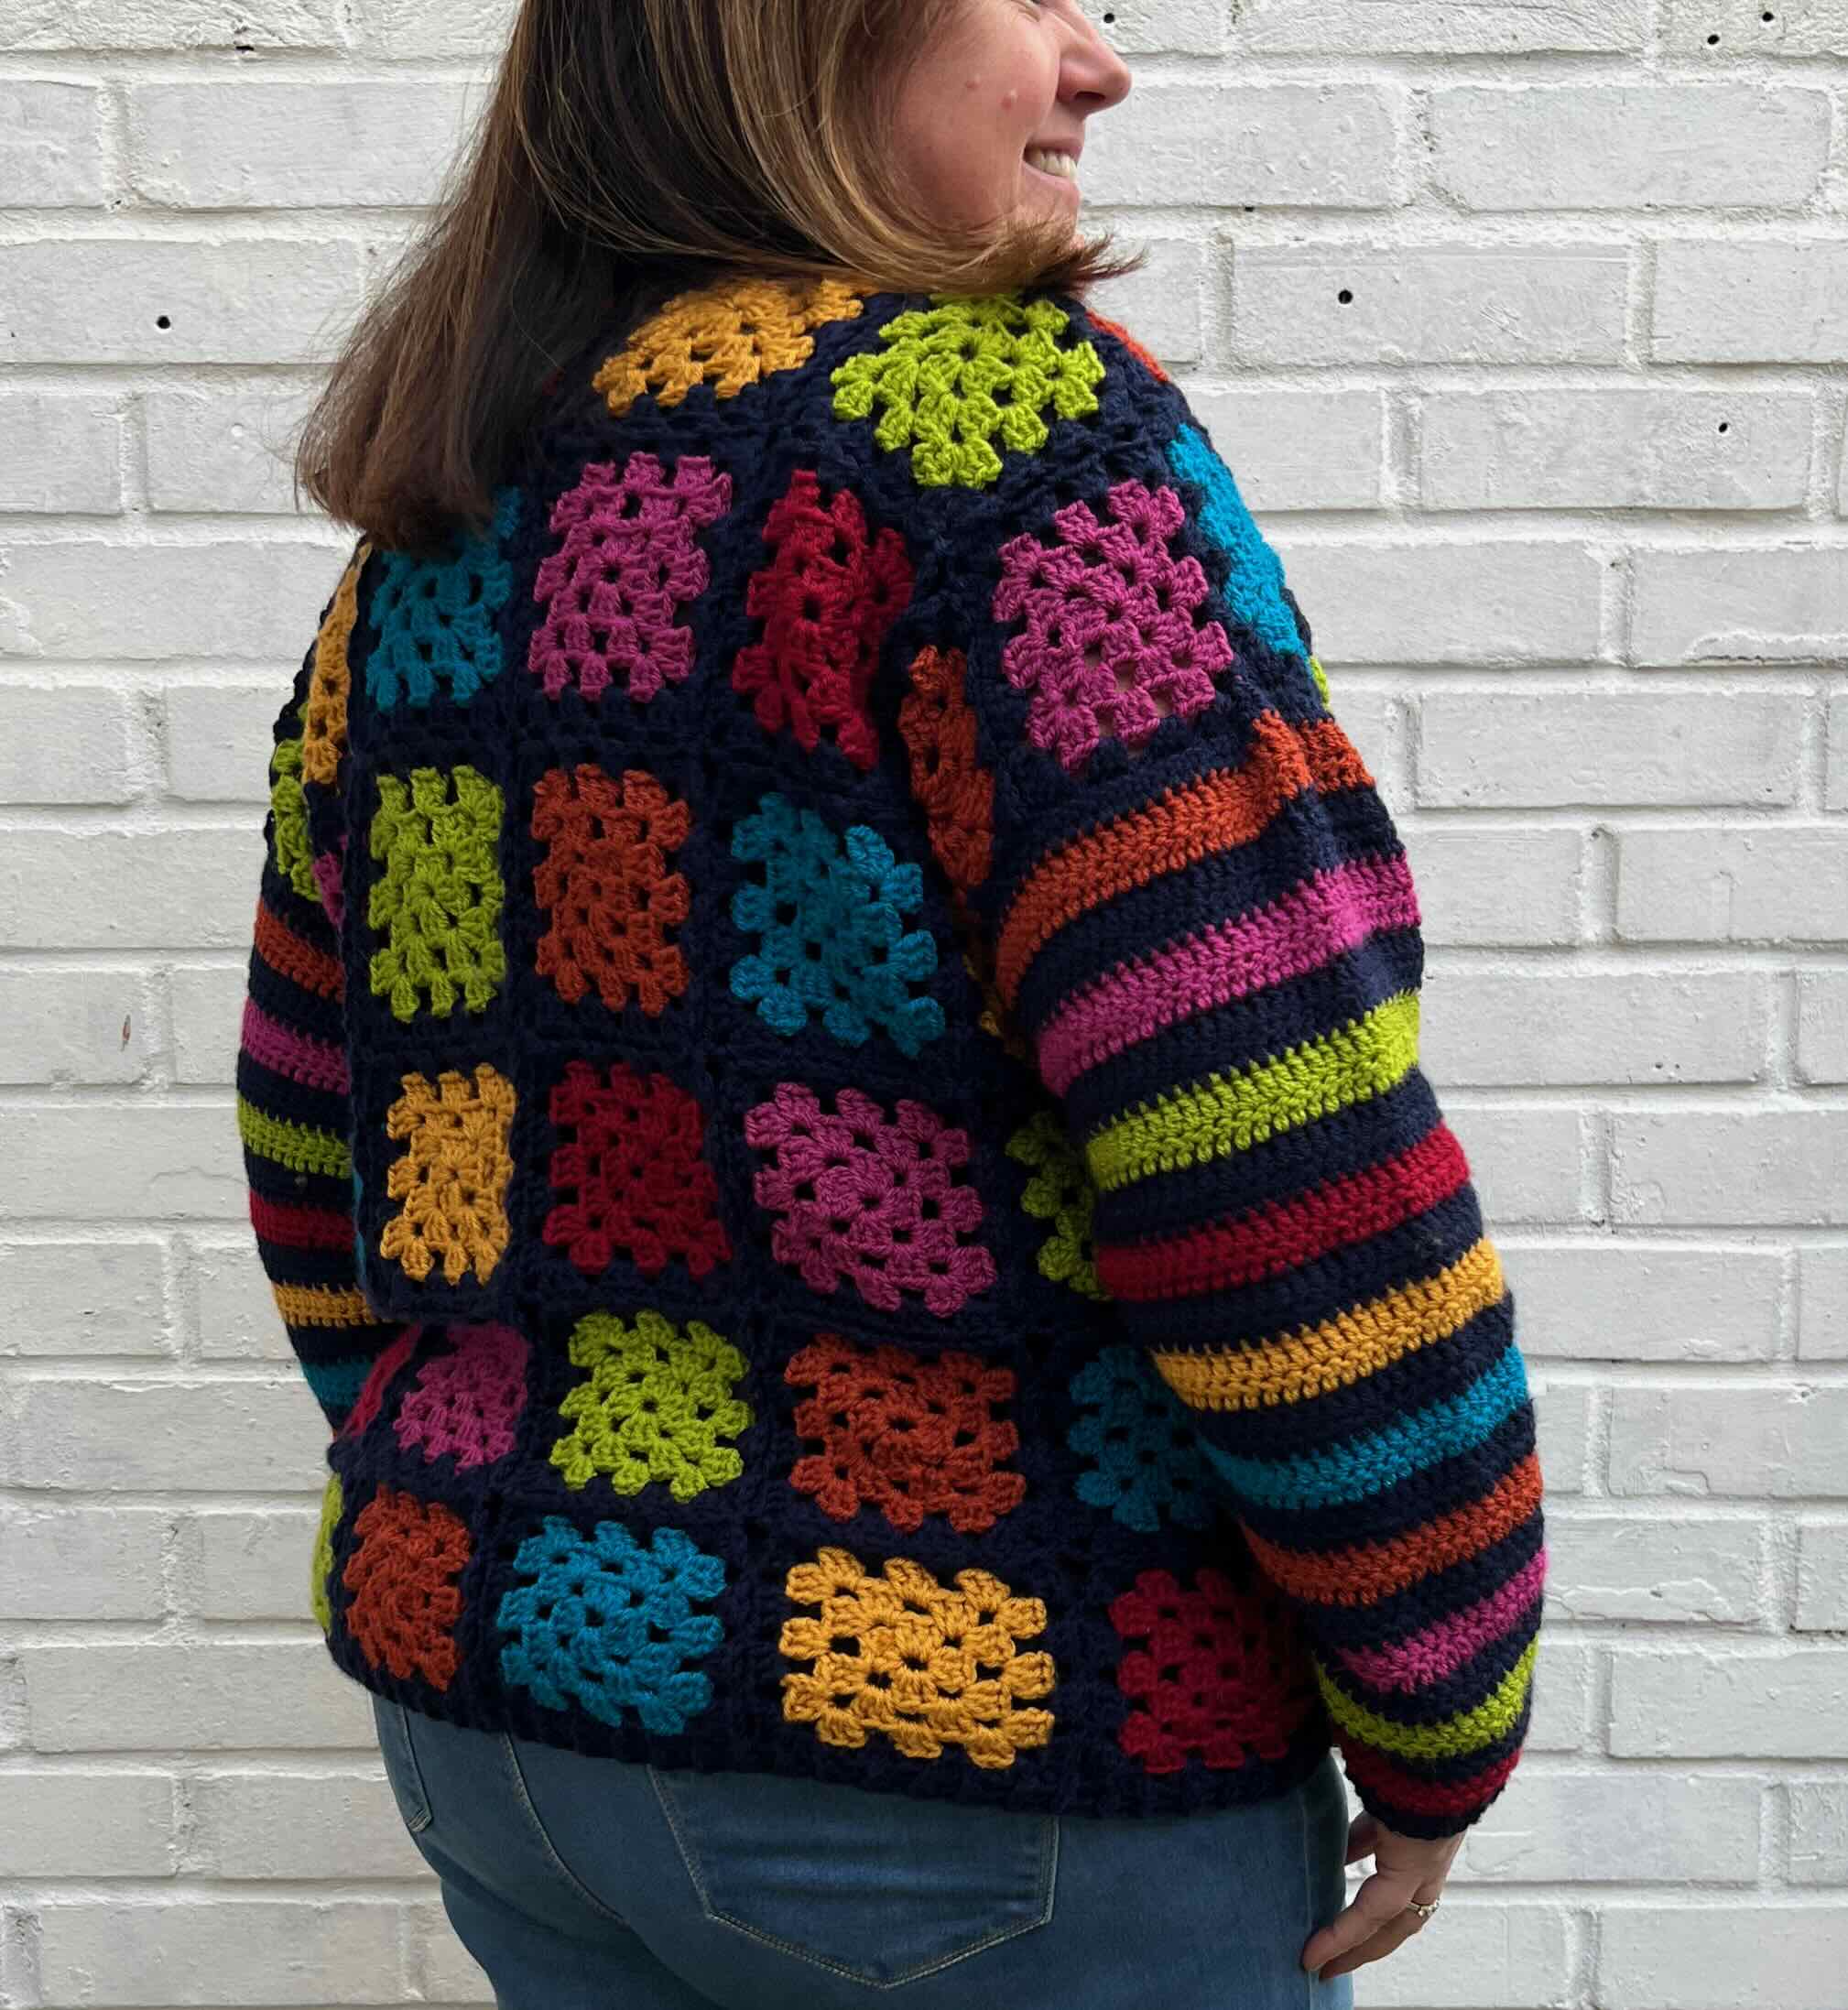
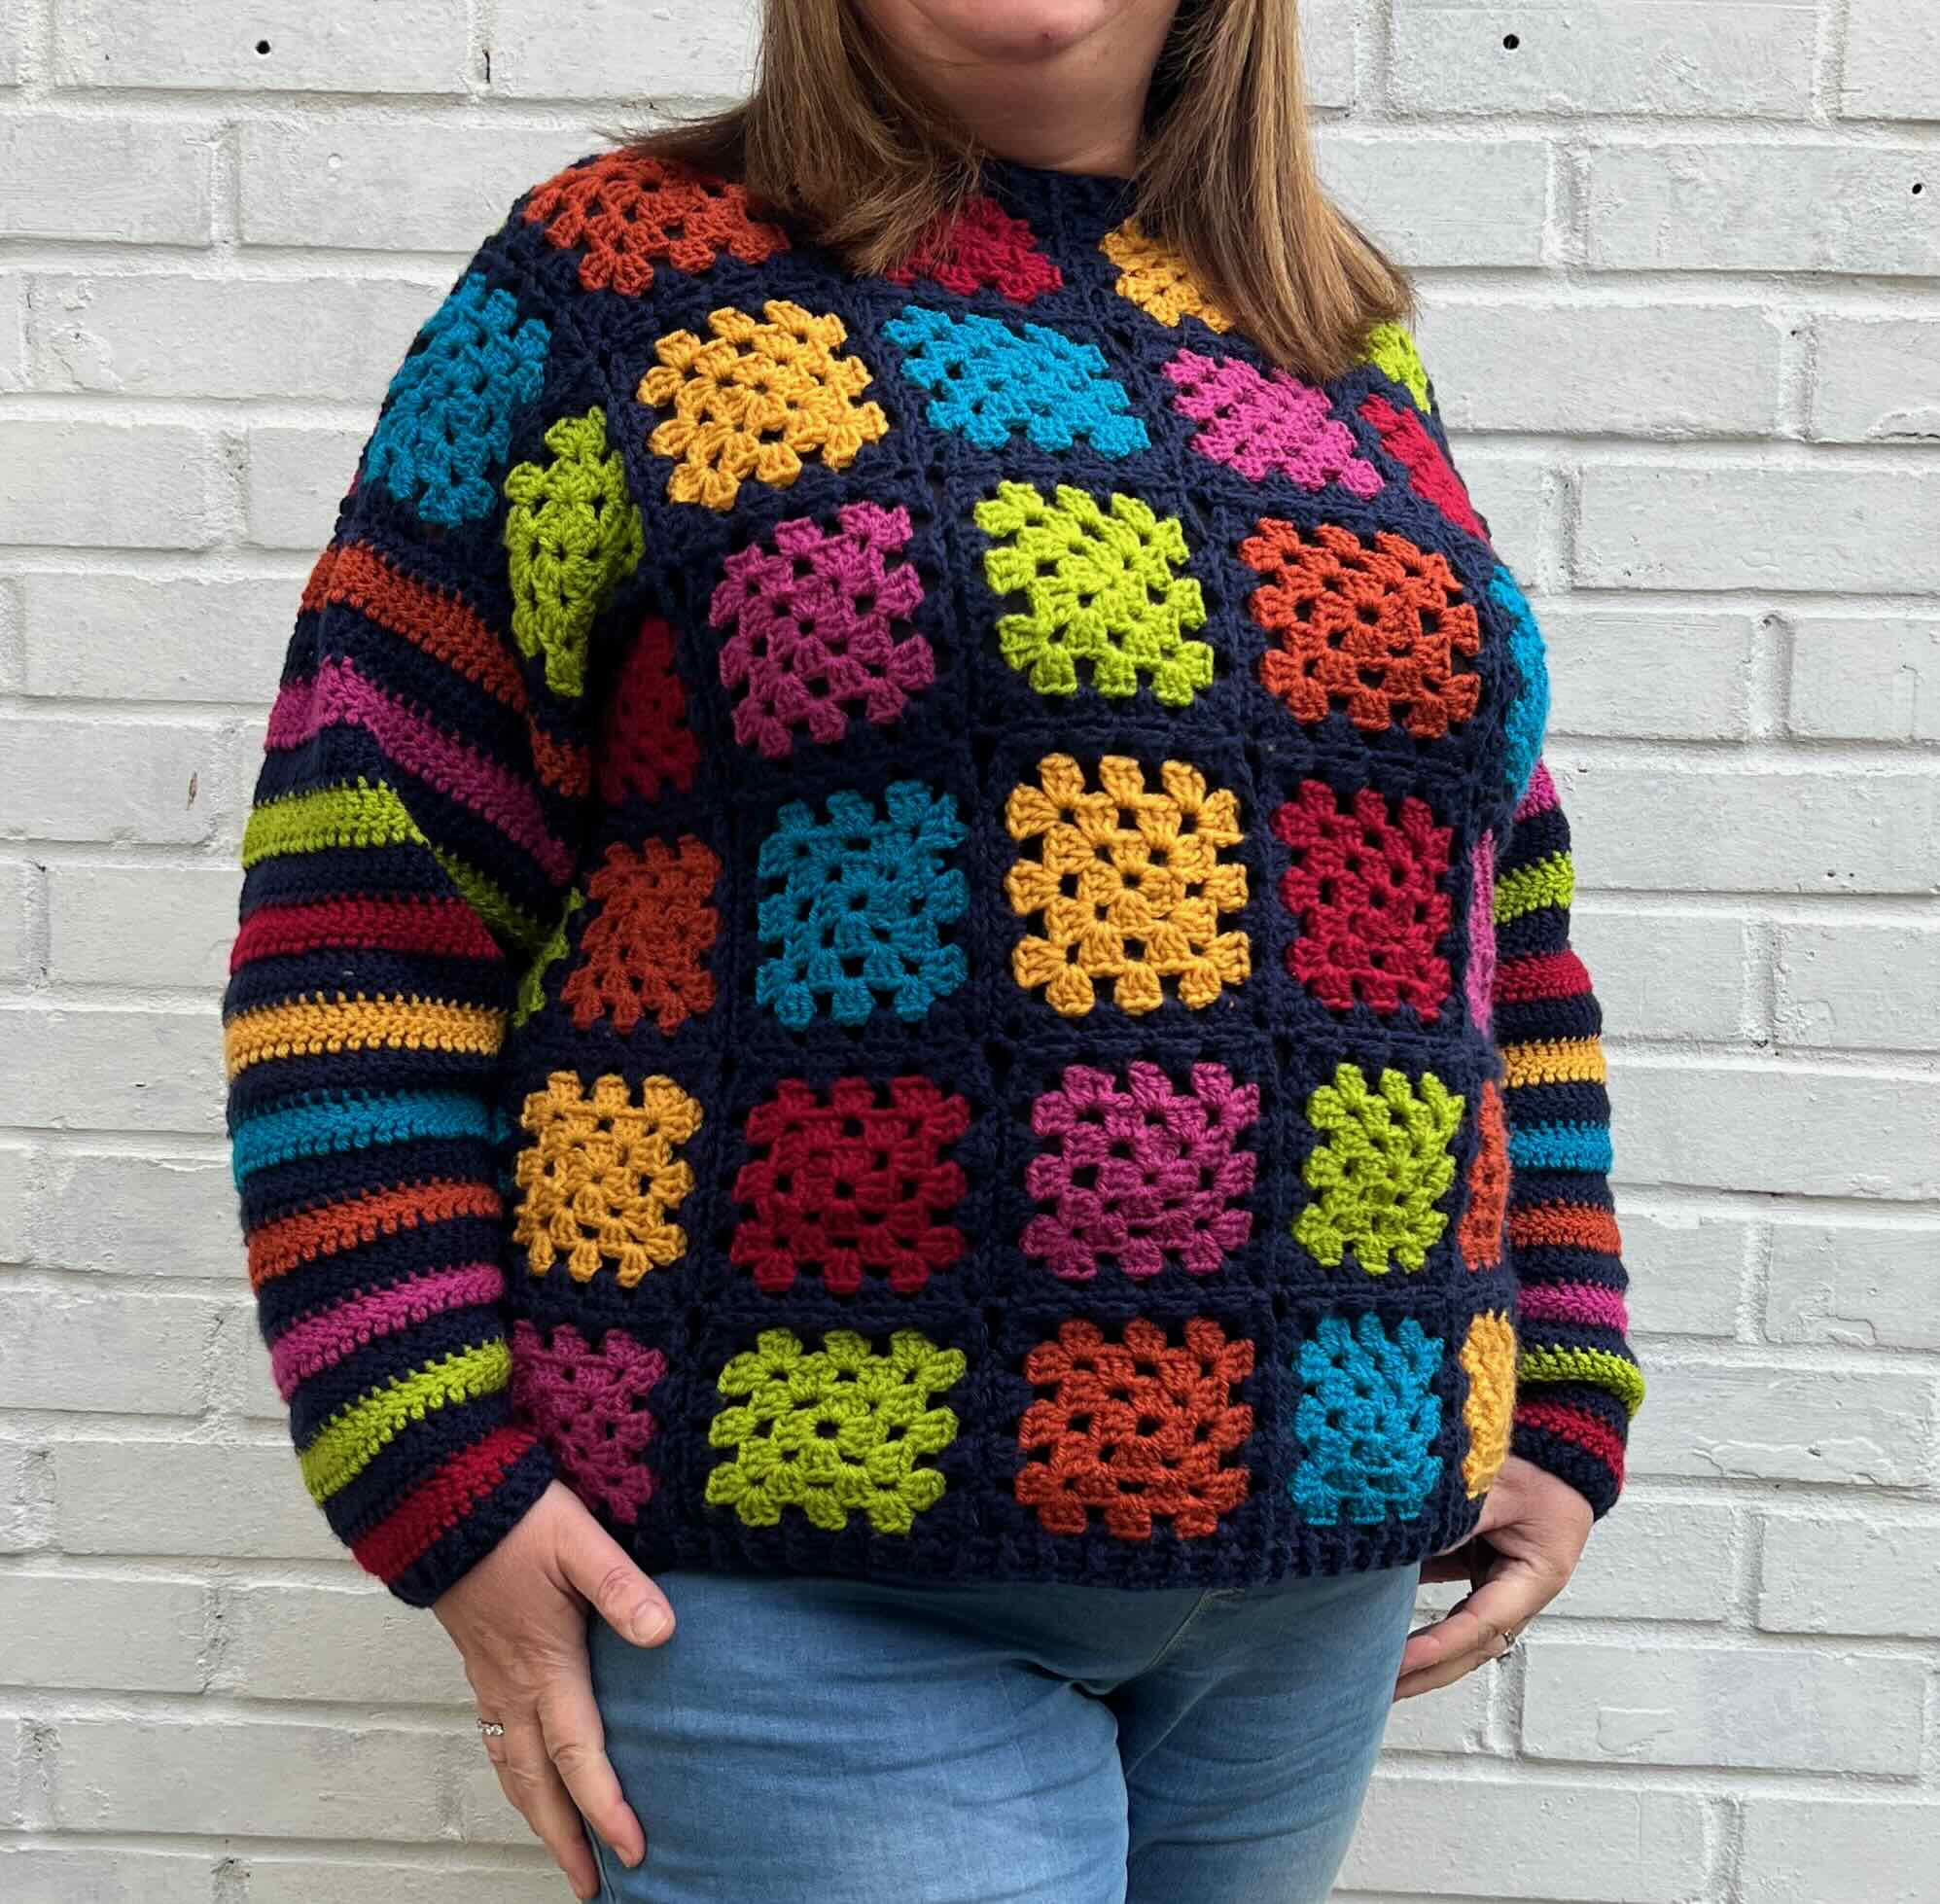
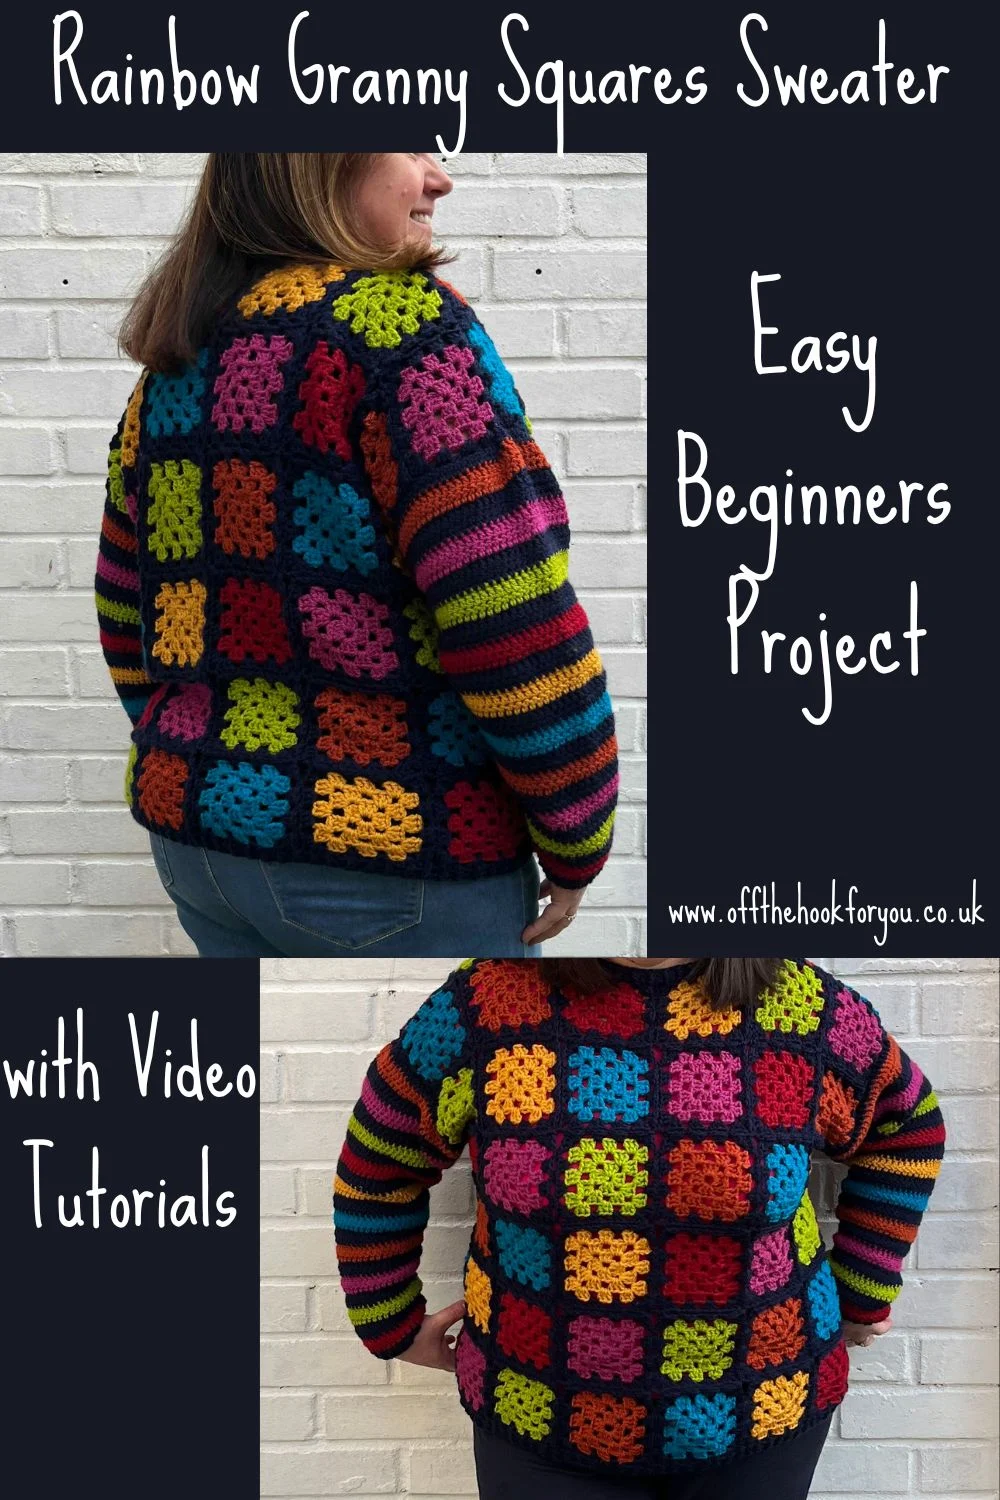
This Rainbow Granny Square Jumper is made using 3 round granny squares joined together, with endless colour combinations possible.
It’s a great stashbuster crochet make, as you can use whatever yarn you have. It’s quick and easy to make.
I have written this pattern in both UK and USA terms, so make sure you check which one you are following!
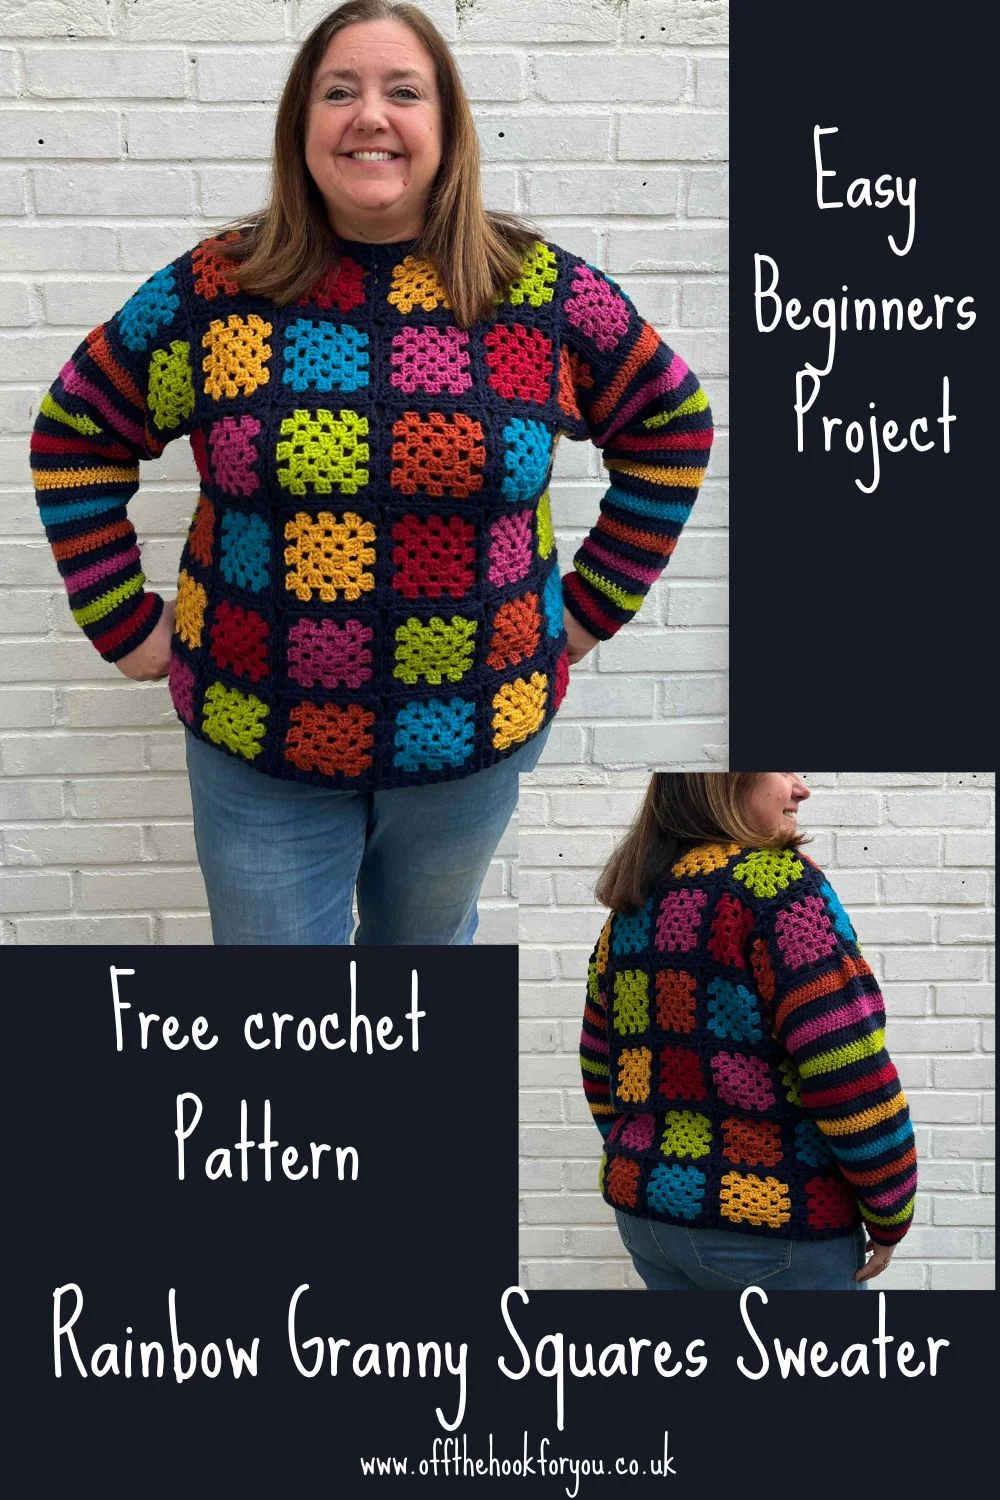
Can you make a jumper out of granny squares?
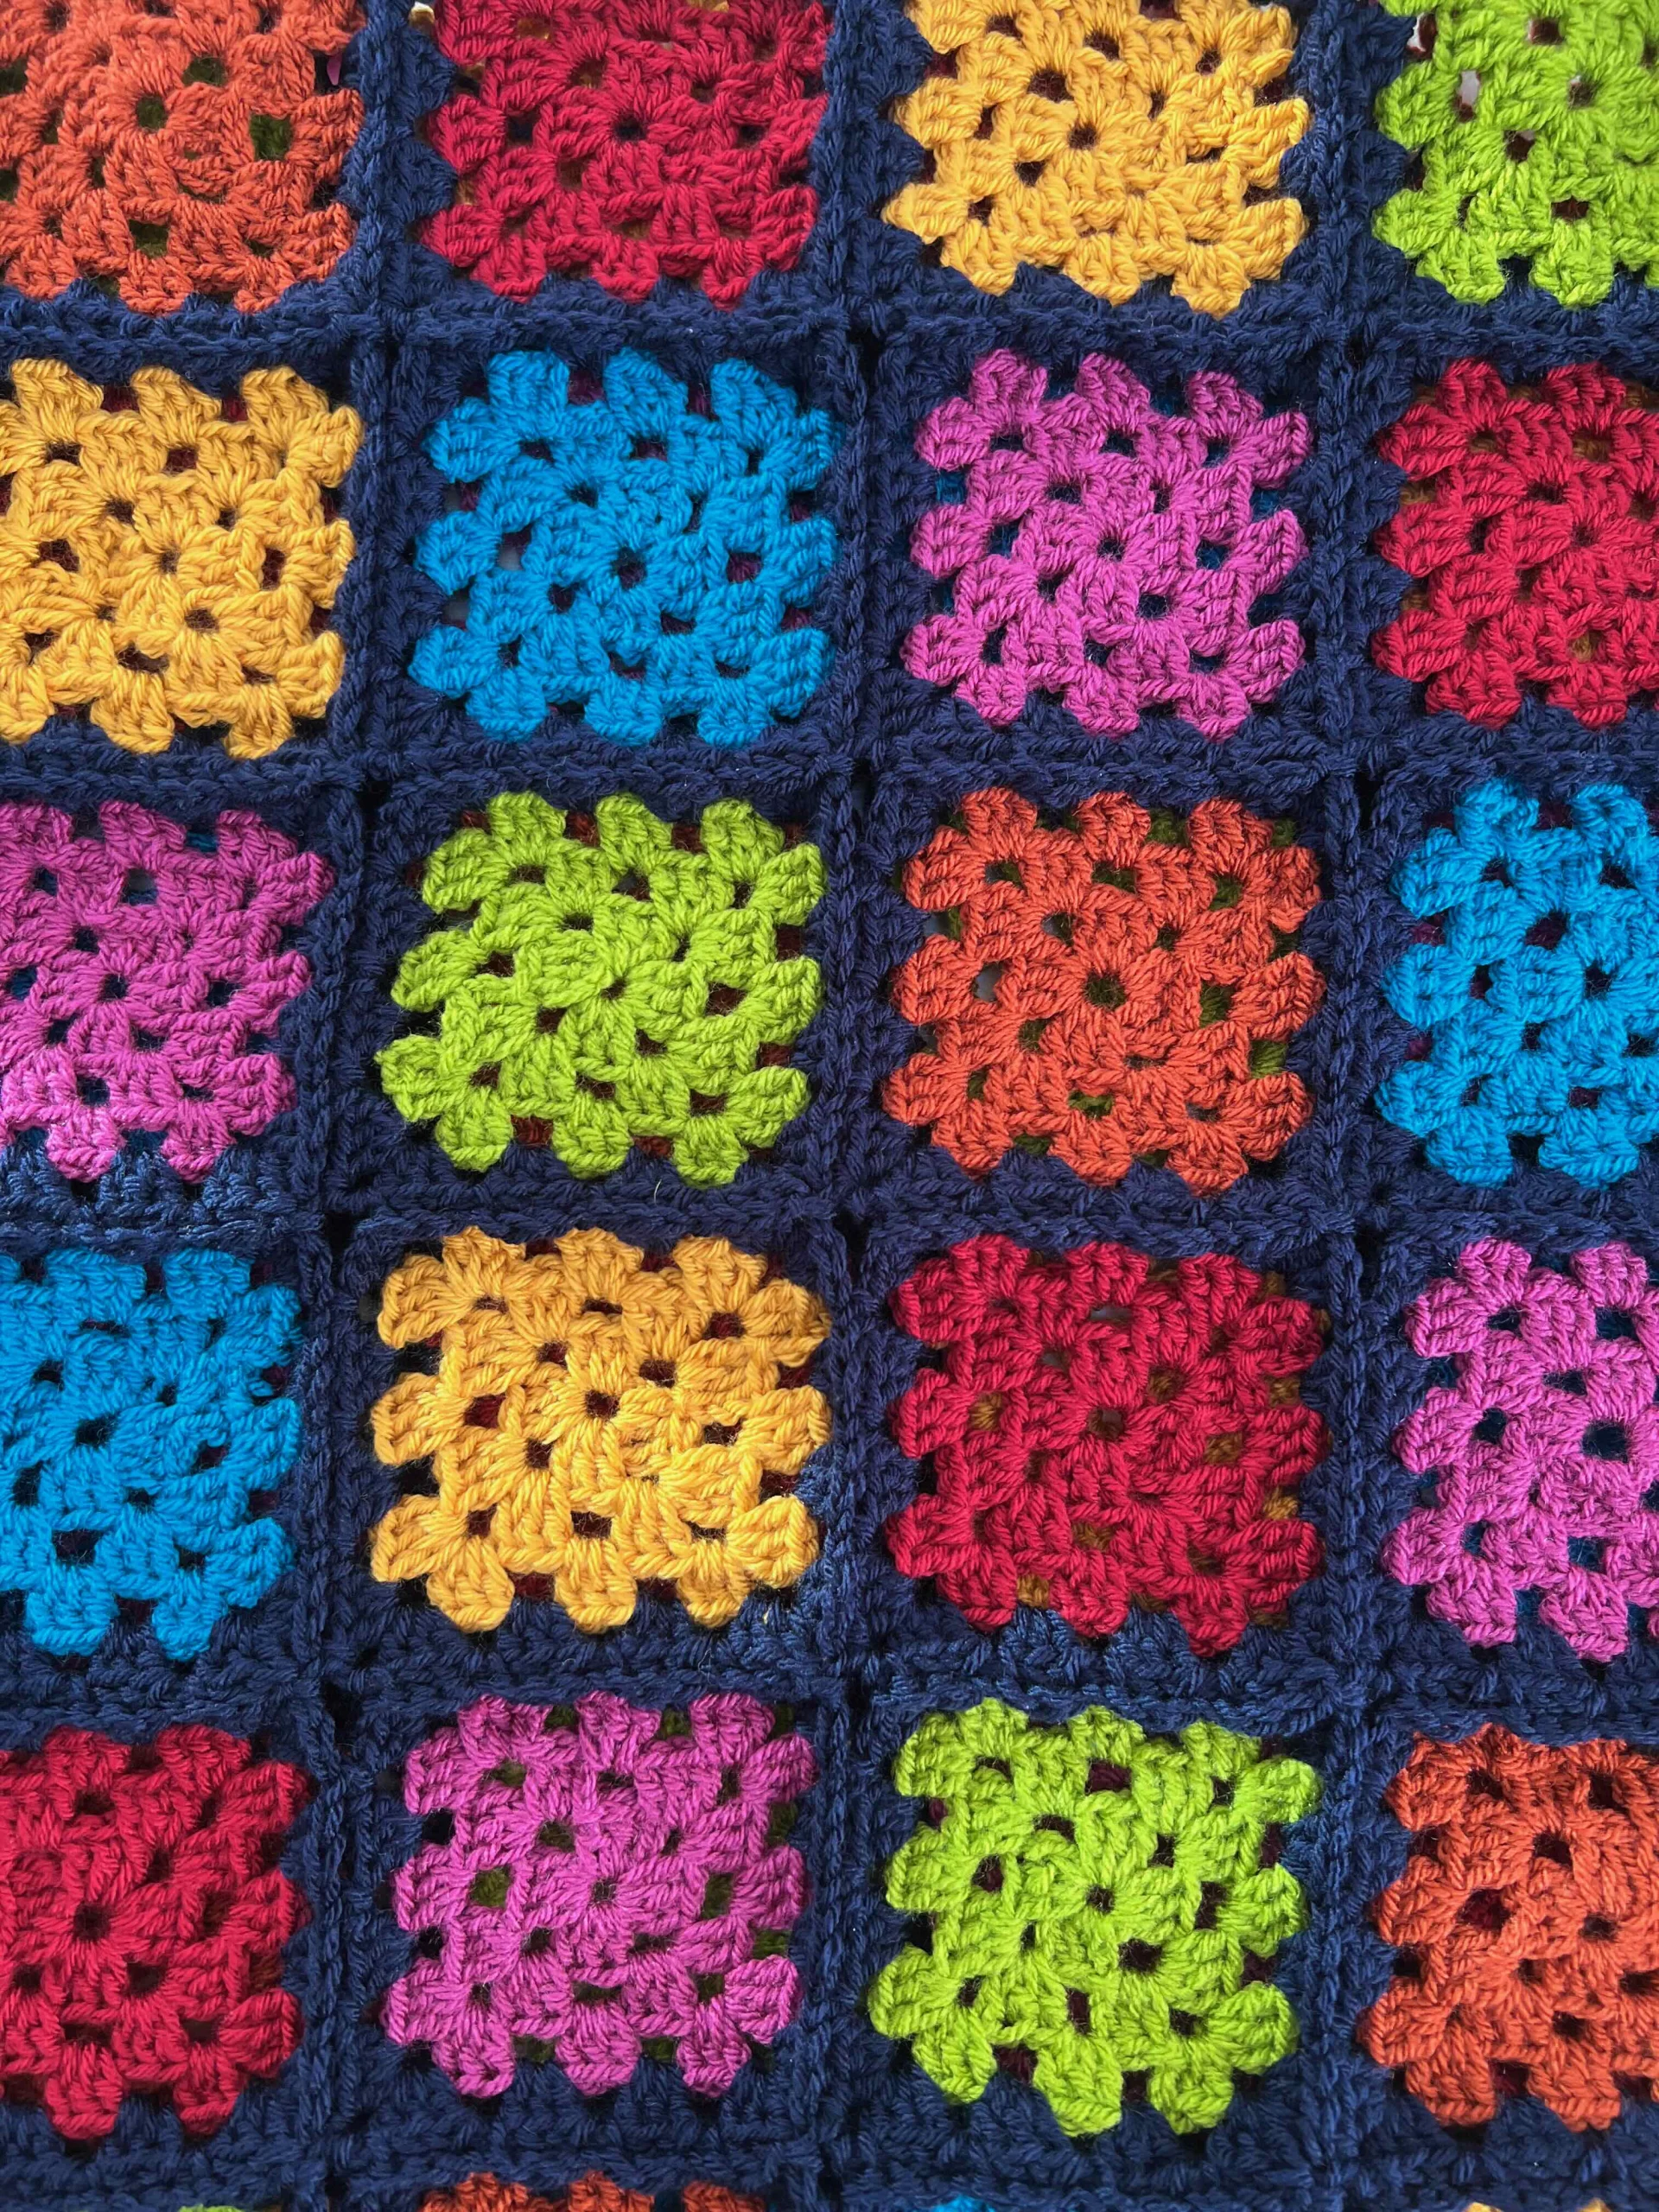
This sweater is made using lots of little granny squares that are crocheted together. I’ve use 3 round granny squares that are joined using the Continuous join as you go method with navy blue.
>>>Learn how to continuous join as you go here
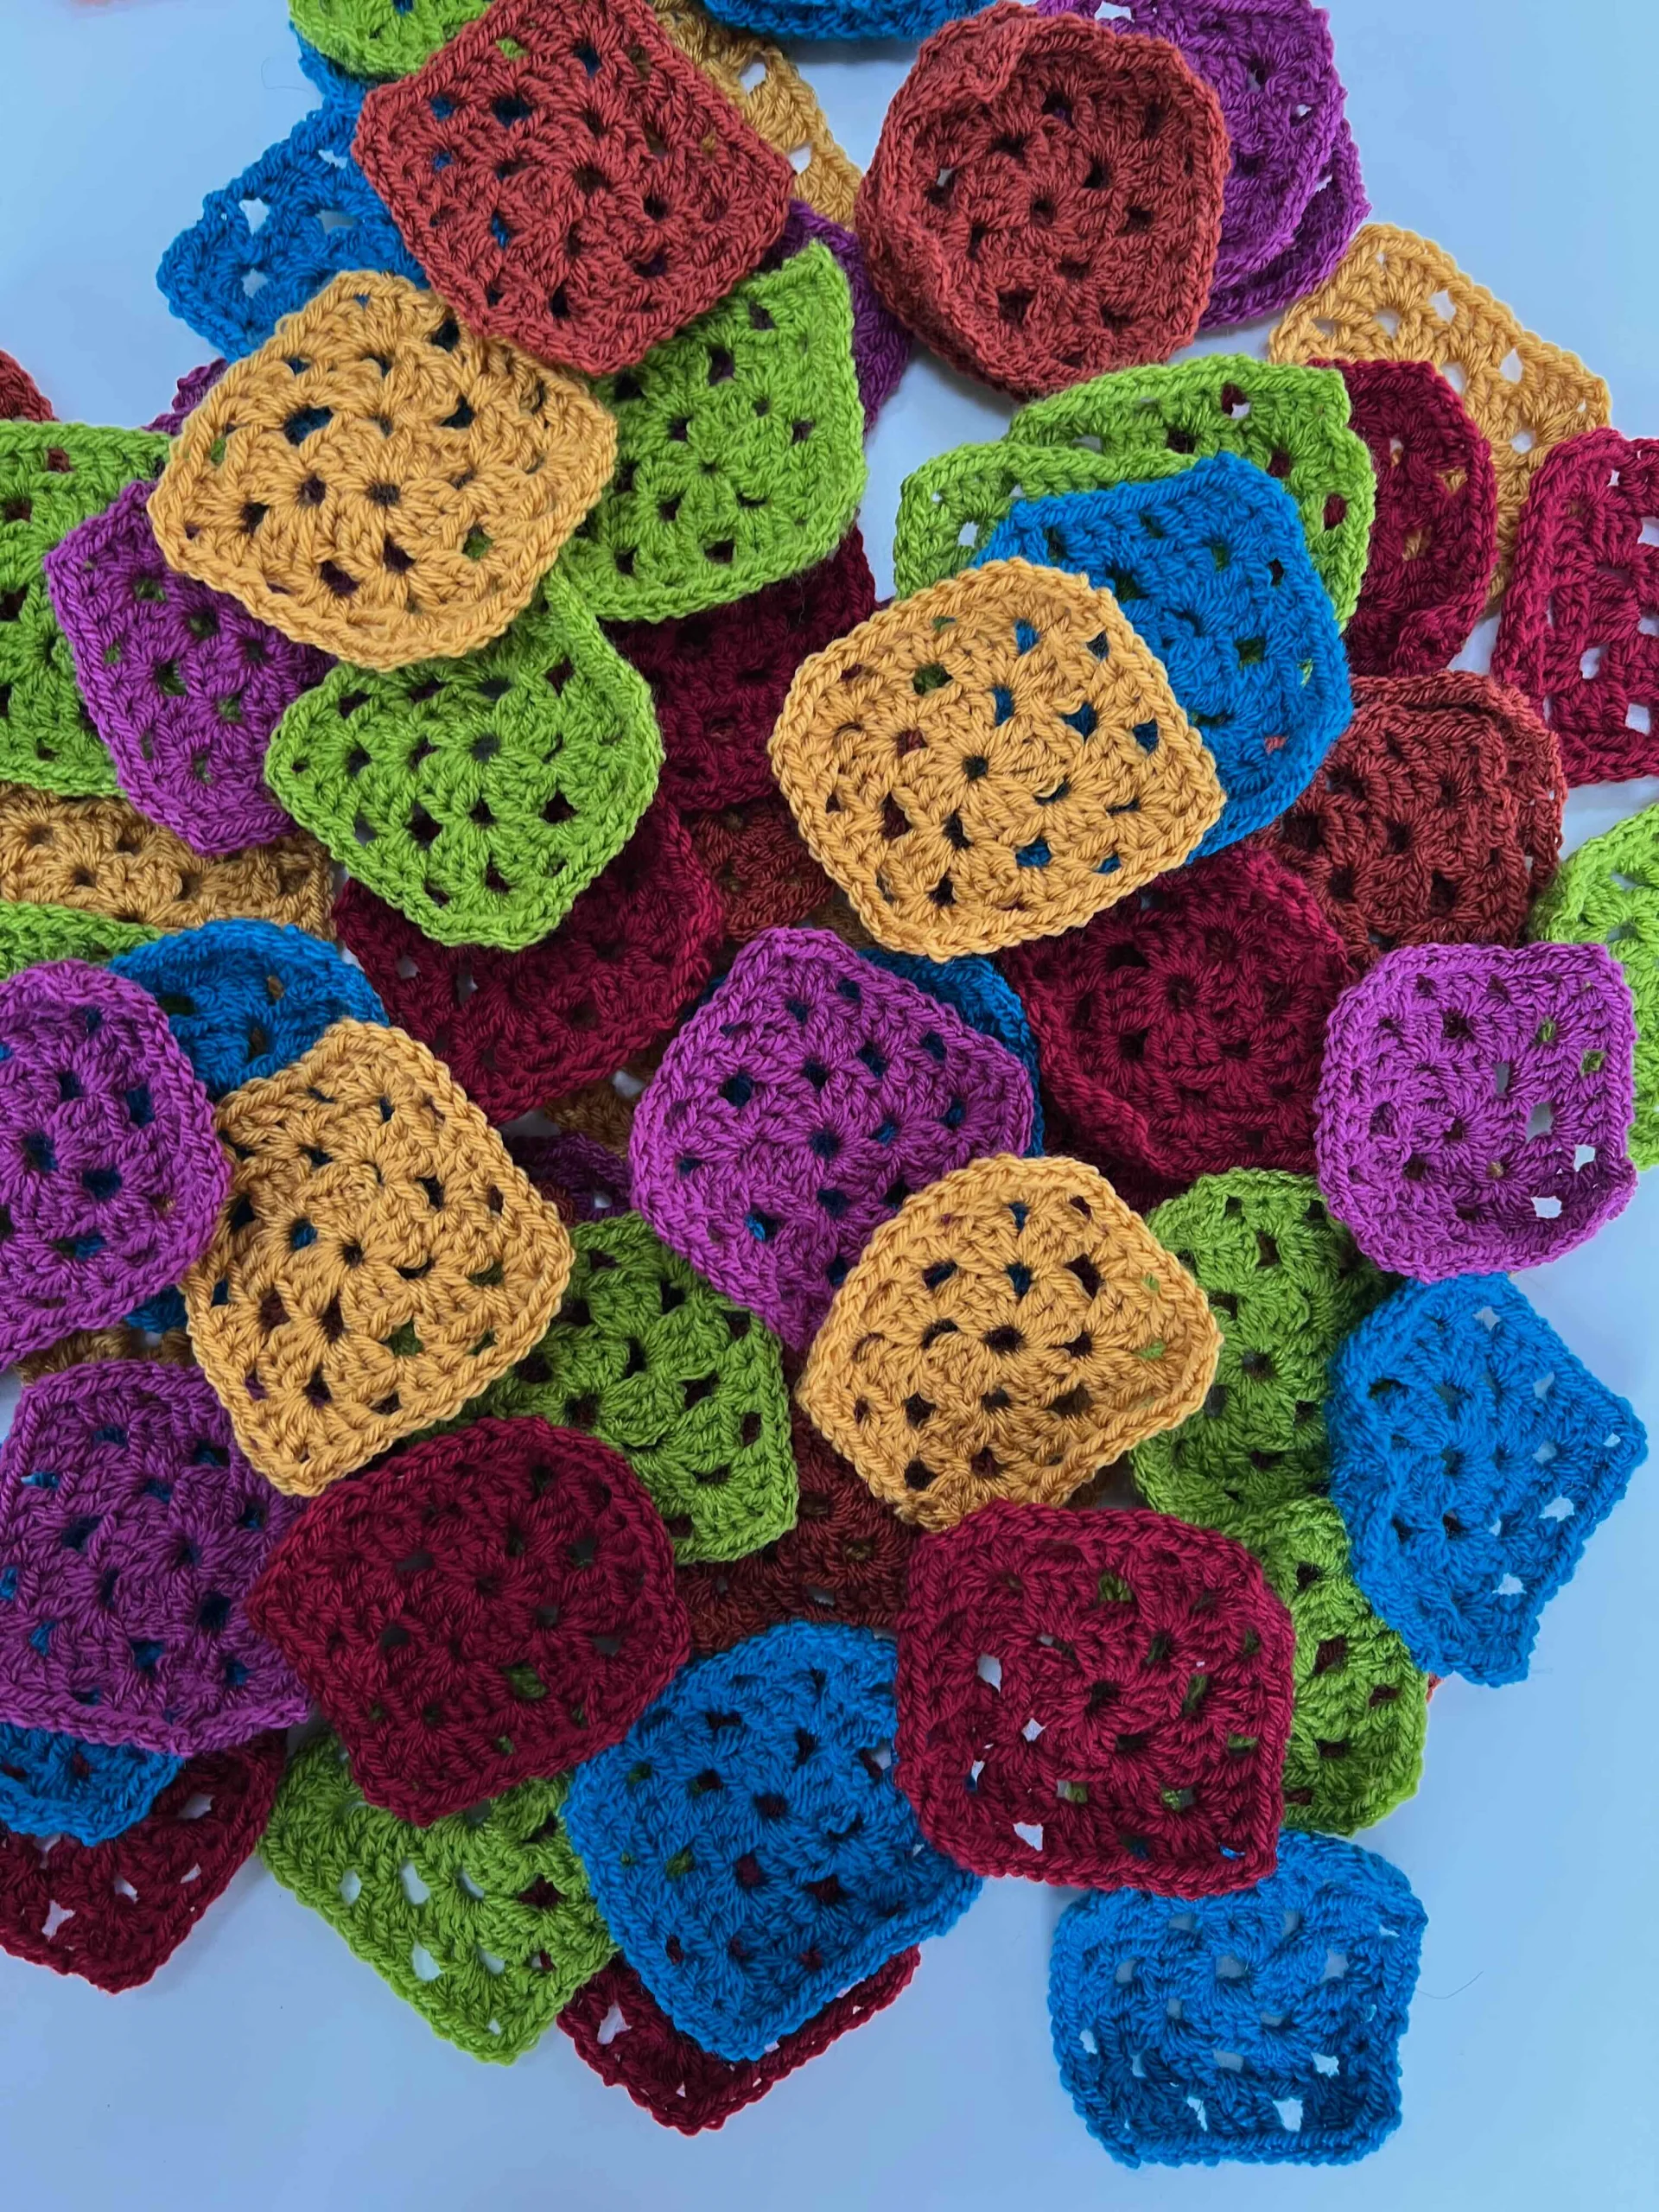
How many granny squares does it take to make a rainbow granny square sweater?
This sweater uses anywhere between 48 to 96 granny squares depending on what size you are making. This jumper is sized from XS throughto 5XL.
I’ve used Double Knitting weight yarn (weight 3 or 4 USA)
You could also make the same kind of jumper but jazz it up a bit by making the squares a Starburst Granny square – just make sure they are the same size.
>>>See the Starburst Sweater here
How do you sew a granny square into a sweater?
This Granny square sweater is joined using the continuous join method (Only 2 ends to sew in!).
You could sew this together using WIP Stitch if you wanted too, just make sure you do a final round of the granny square in one colour, to make each square 10cm/ 4 inches.
Are Granny Squares in Fashion?
Granny squares are hugely in fashion at the moment. They are a brilliant easy crochet makes, and perfect for beginners as you work in the spaces, rather than the tops of stitches.
>>>Learn how to make my Granny Square for Absolute Beginners here
What do you need to know to make a rainbow granny square sweater?
I call this an advanced beginners pattern. It is mainly rainbow granny squares after all and these are a complete beginners crochet project.
To make this rainbow granny square sweater, you will need to:
- Make a granny square
- Slip knot, Chain and Double crochet (USA Terms)
- Continuous joining Granny Squares
- Foundation Double crochet
- Front Post and Back Post Double crochet.
- Fasten Off, Weave in Ends.
Crochet Pattern Options
There are a few ways you can get the crochet pattern for my Rainbow Granny Square Sweater, and enjoy this crochet pattern and help support Off the Hook for You.
- You can find and use the Granny Square jumper pattern here on the blog that is supplemented with ads.
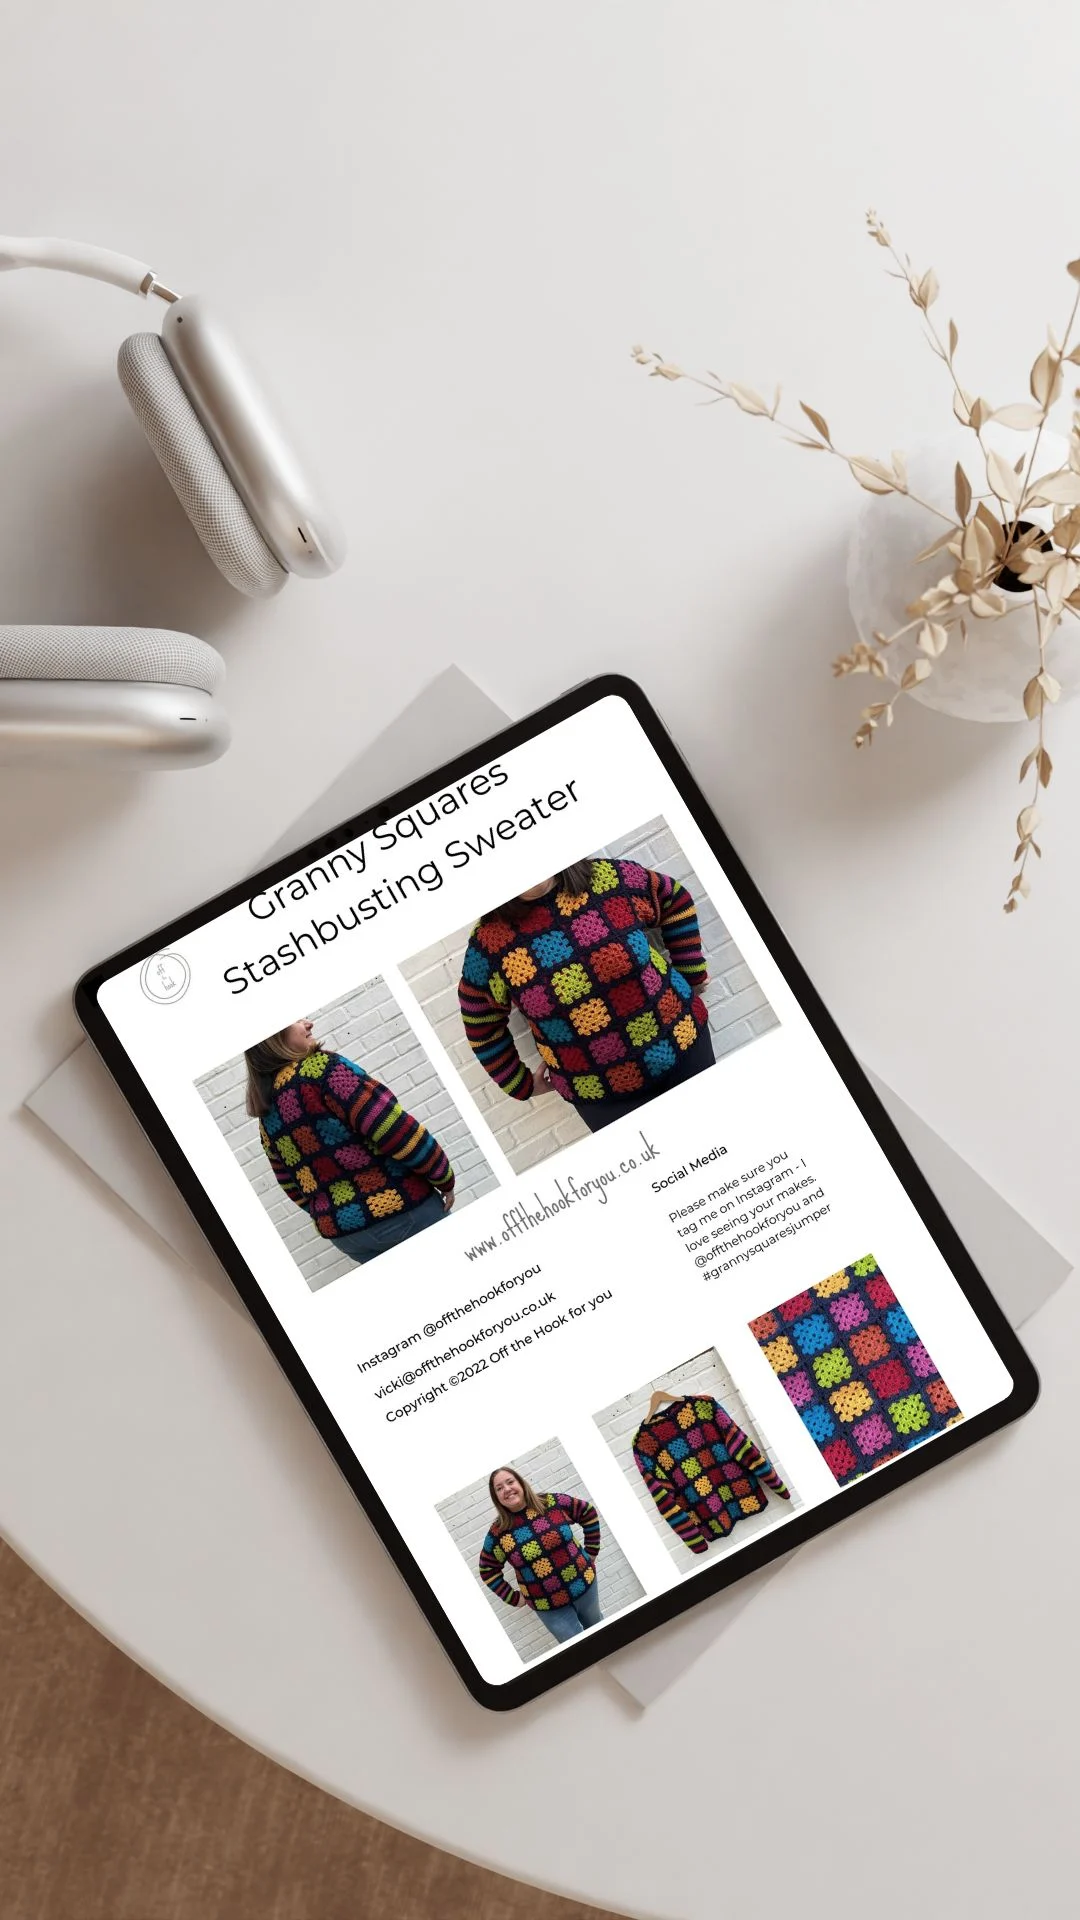
- You can purchase, print and keep the 16 page advert-free pattern PDF in any of my shops as an instant download below.
Get the Ad free Pattern on Etsy
Get the Ad free pattern Lovecrafts
Get the Ad Free Pattern Ravelry
Yarn for a Granny Square Sweater
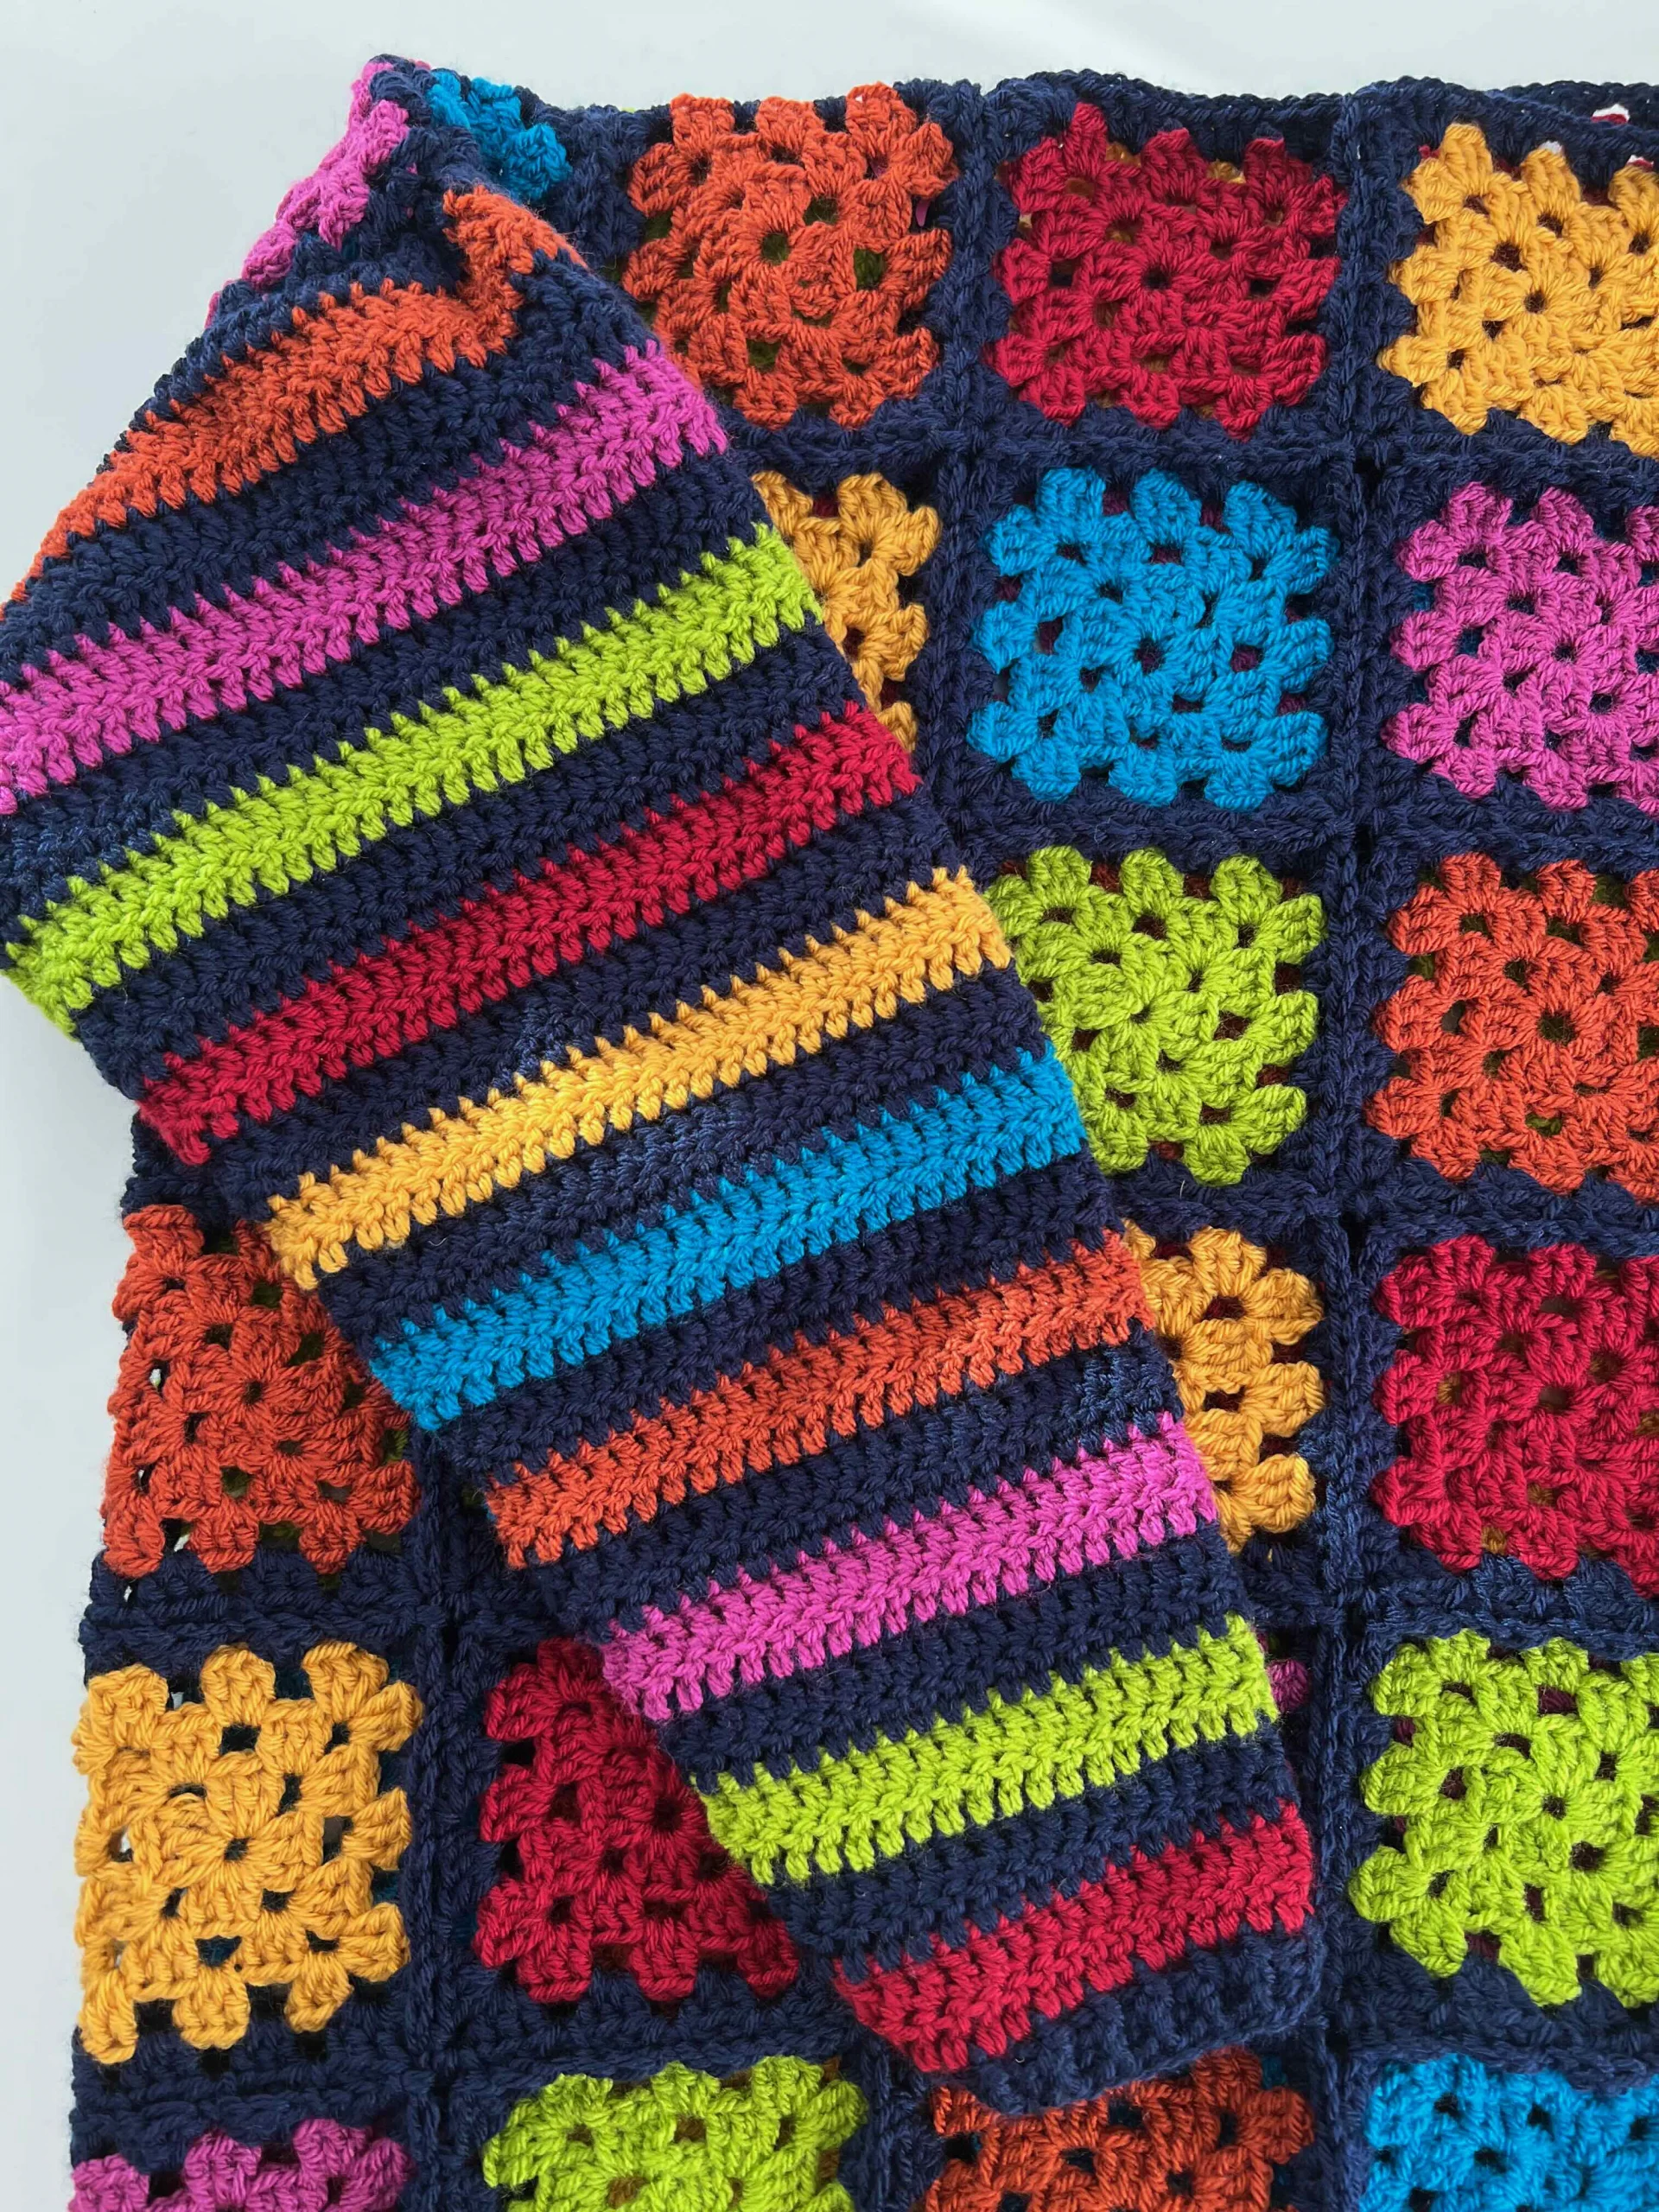
I’ve used my crochet stash for this sweater. It took about 1/2 a ball of each colour, and then 3 balls for the navy blue.
It’s a DK weight yarn, which is slightly thinner than a worsted weight.
Great options for yarn are:
Stylecraft Special DK, 100% Acrylic Approx 298m/100g.
Deramores Studio Anti-piling DK, 100% Acrylic, 250m/100g.
You will need
9m per square (up until row 3) and colours for the sleeves.
I used 6 colours for the squares and then 1 further colour for joining.
| Size | Number of squares | Total Metres/ yards of coloured yarn |
| XS | 48 | 432 / 525 |
| S | 48 | 432 / 525 |
| M | 60 | 600 / 660 |
| L | 60 | 600 / 660 |
| XL | 72 | 720 / 790 |
| 2XL | 72 | 720 / 790 |
| 3XL | 84 | 840 / 920 |
| 4XL | 84 | 840 / 920 |
| 5XL | 96 | 960 / 1050 |
This Sweater is a perfect Stashbuster. I’ve used the leftovers from a couple of different brands- you will need a maximum of 1 ball of each colour, then Indigo for joining.
For an XL I used a maximum of 50g per ball.
Stylecraft Special DK, 100% Acrylic Approx 298m/100g.
Copper 1029
Empire 1829
Bosenberry 1828
Apple 1852
Deramores Studio Anti-piling DK, 100% Acrylic, 250m/100g.
Mustard 70058
Cranberry 70071
For Joining and sleeves, Yarn A Deramores Studio Anti-piling DK, 100% Acrylic, 250m/100g. 3 (3, 3, 3, 3, 3, 4, 4, 4) balls in Indigo 70040
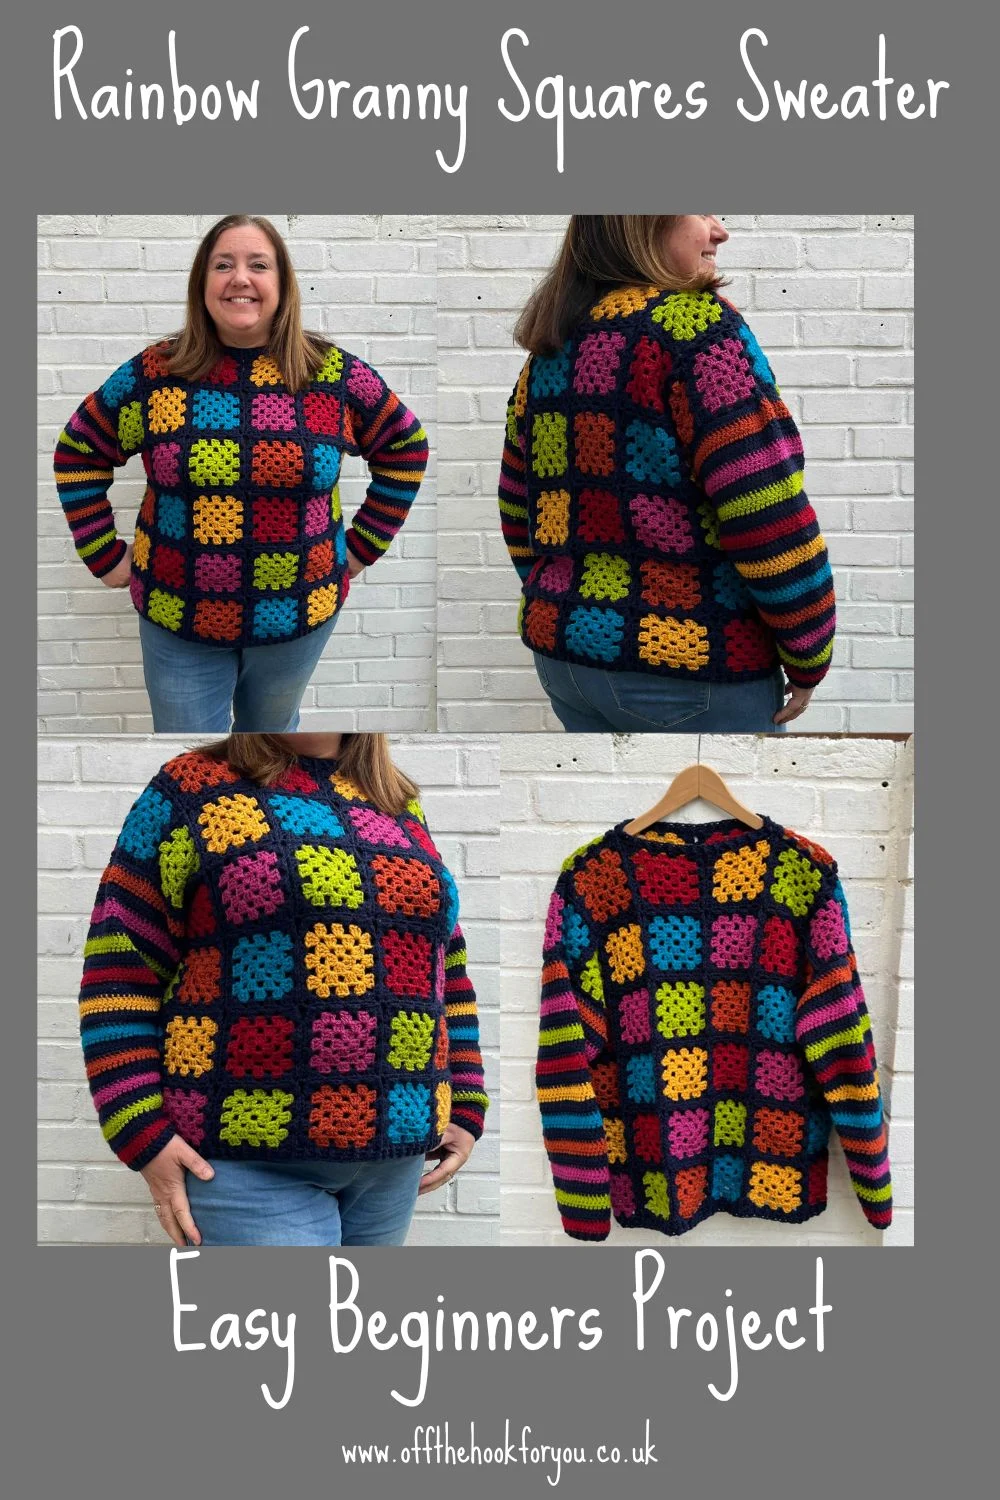
Abbreviations – USA Terms used
Ch – chain stitch
BPDC – back post double crochet
DC – double crochet
FDC – foundation double crochet
FPDC – front post double crochet
pul – pull up loop
sp (s) – space
SS – slip stitch
st(s) – stitch (es)
yrh – yarn round hook
Learn how to make a granny square here
Foundation Double Crochet (FDC): Ch3 (counts as first 1DC), yrh, insert hook in 3rd Ch from hook, [yrh, pul, yrh, draw through 1 loop on hook (Ch made), yrh, draw through 2 loops] twice (DC made)], insert hook in last Ch made; rep [ ] for number of sts required.
Double Crochet: yrh, insert hook in sp/ st, [yrh, pul, yrh, draw through 2 loops] twice (DC made)
Tension/ Gauge
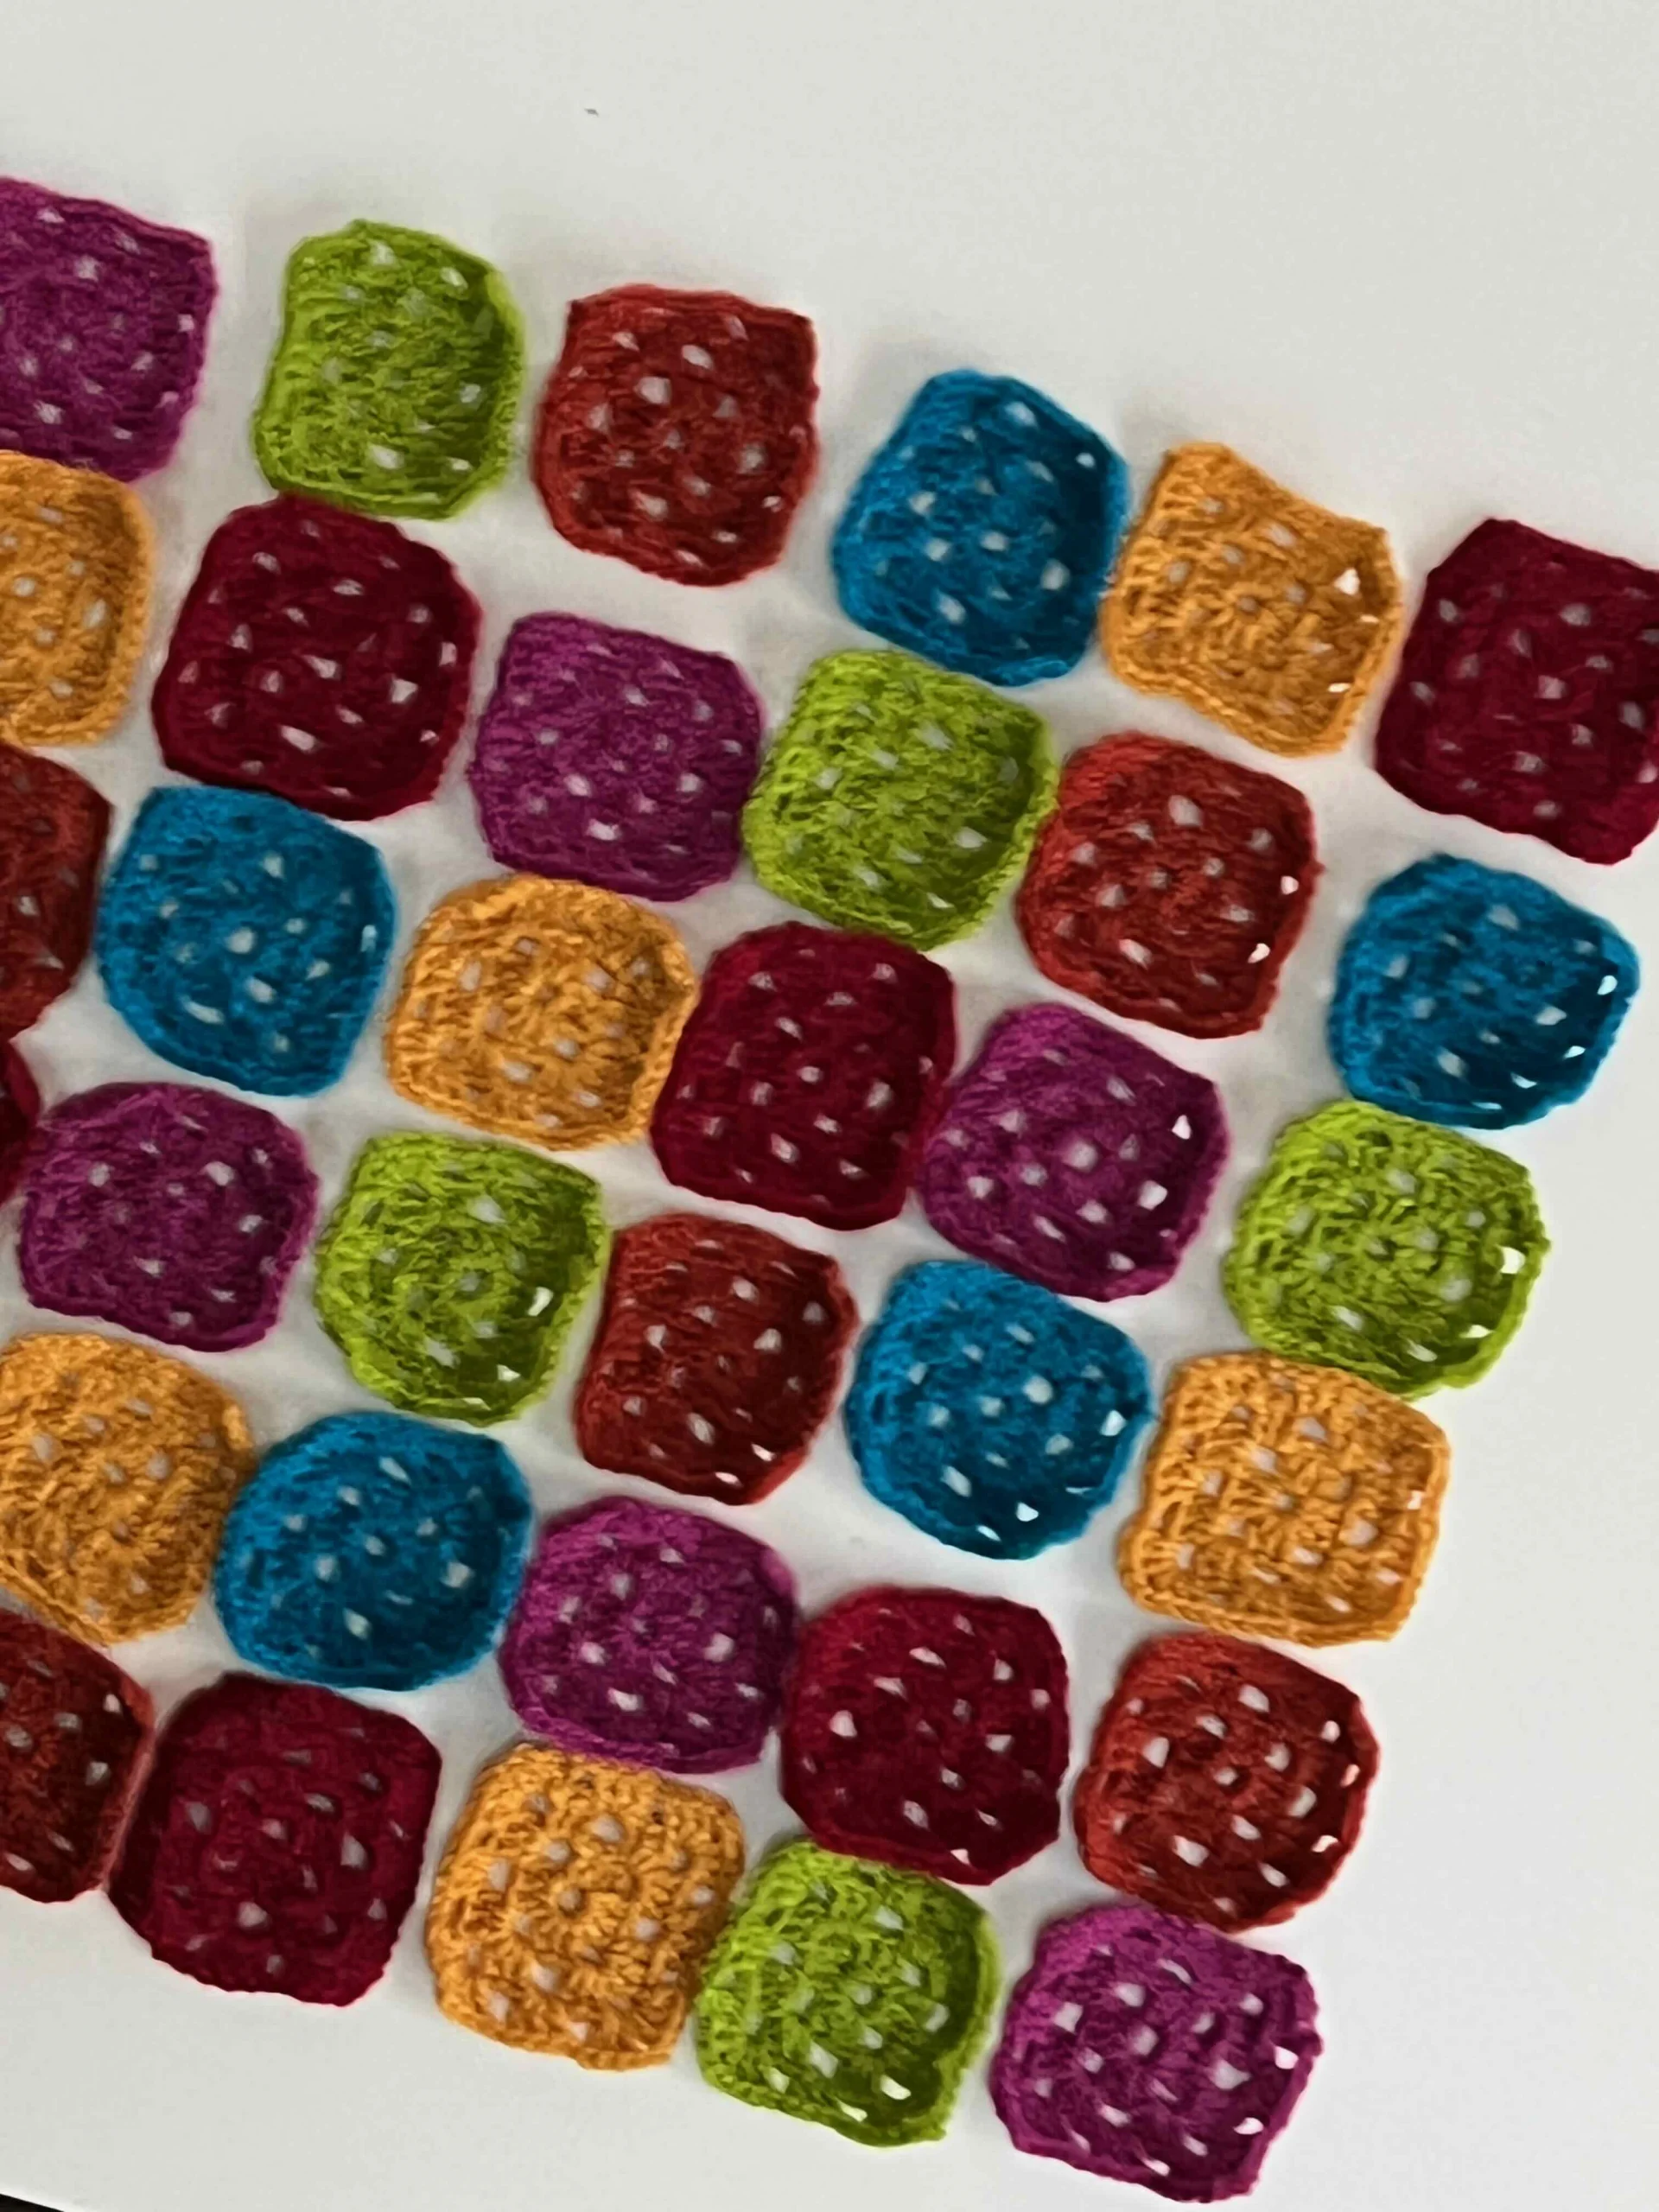
Each complete square to round 3 will measure 8.5cm x 8.5cm (3.25in x 3.25in) square with a 4mm hook.
Please make at least one square up to round 3 to check your tension is correct. A small difference in this measure will affect the fit of the sweater.
Pattern Notes
The jumper is intended to have a snug fit, with only a small amount of positive ease which changes with the size. See Schematic for finished measurements.
The front and back are made as panels, from the granny squares joined together using the continuous join technique. To learn this technique click here. Stop making your squares at round 3, ready to CJAYG.
The sleeves are worked in rows, turning at the end of each row, then sewing together once made.
The Chains at the beginning of the rows/ rounds count as a stitch throughout.
x donates that the instruction does not apply to that size.
The length of the jumper can be changed by reducing or increasing the number of squares that make the front panel. The standard length is 62cm, made from a height of 6 squares.
The body of the sweater is made from mostly granny squares. Extension rows are used for some sizes to achieve the correct width. If your size is not mentioned, move onto next step.
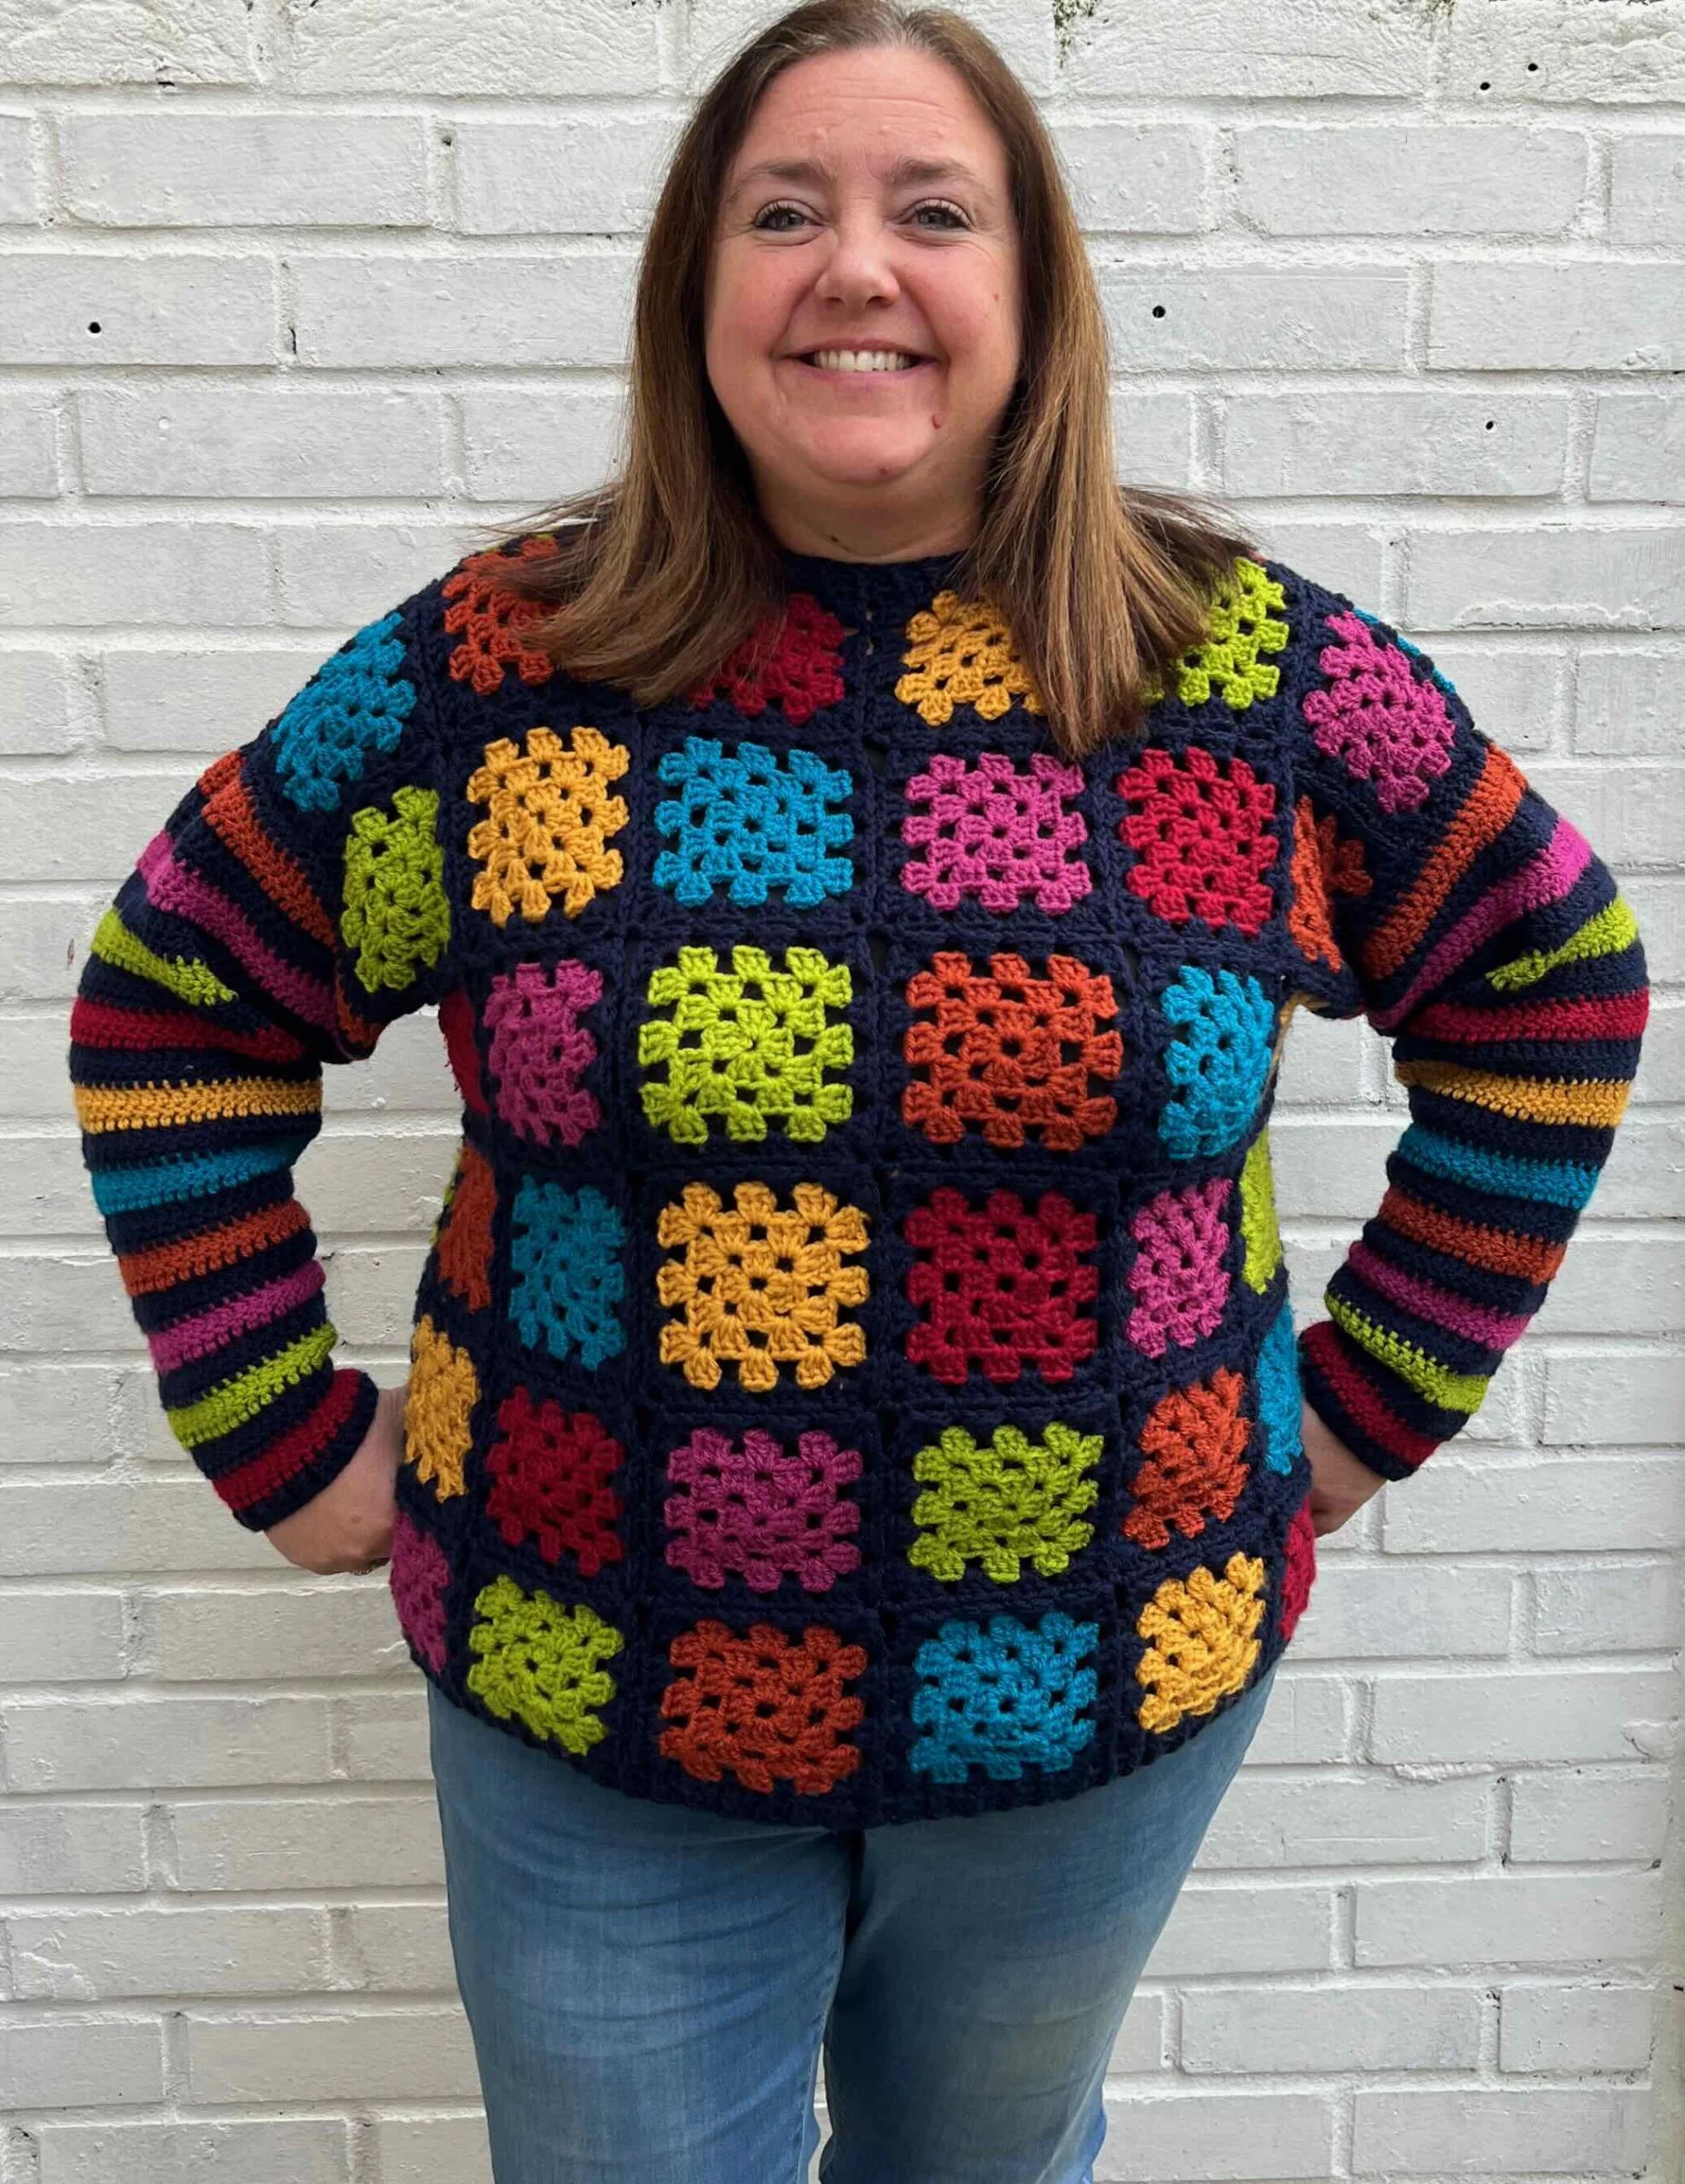
As a guide, I am 5ft 3in, and I wear a UK 16/18, USA 14/16 and I made an XL size.
| Size | XS | S | M | L | XL | 2XL | 3XL | 4XL | 5XL |
| To Fit Bust (cm) | 76 | 86 | 97 | 107 | 117 | 127 | 137 | 147 | 158 |
| Actual Bust (cm) | 80 | 90 | 100 | 110 | 120 | 130 | 140 | 150 | 160 |
| Length (cm) | 62 | 62 | 62 | 62 | 62 | 62 | 62 | 62 | 62 |
| Armhole depth (cm) | 17 | 18 | 19 | 21 | 22 | 23 | 24 | 26 | 27 |
| Sleeve Length (cm) | 39 | 40 | 40 | 41 | 41 | 43 | 43 | 44 | 44 |
| To Fit Bust (inches) | 30 | 34 | 38 | 42 | 46 | 50 | 54 | 58 | 62 |
| Actual Bust (inches) | 31 | 35 | 39 | 43 | 47 | 51 | 55 | 59 | 63 |
| Length (inches) | 24 | 24 | 24 | 24 | 24 | 24 | 24 | 24 | 24 |
| Armhole Depth (inches) | 7 | 7 | 7 | 8 | 9 | 9 | 9 | 10 | 11 |
| Sleeve Length (inches) | 15 | 16 | 16 | 16 | 16 | 17 | 17 | 17 | 17 |
Back and Front
Pattern – Granny Square
Chain 4, SS to make a circle. Ch3
Round 1 (RS) Ch4, SS to make a circle. Ch3 ( counts as the first DC), 2DC into loop Ch2, *3DC into the circle Ch2 *, repeat from * 3 times. SS to top beg Ch3. [12DC, 4 Ch2 sps]
Round 2(RS) SS yarn over to the Ch2 sp. Ch3 (counts as DC), 2DC Ch2, 3DC Ch1 in each corner sp around, SS to top of beg Ch3. [24DC].
Round 3 (RS) SS yarn over to the Ch2 sp. Ch3 (counts as DC), 2DC Ch2, 3DC Ch1, 3DC in next sp Ch1, *3DC Ch2 3DC in the corner sp, 3DC in next sp, Ch1 *repeat from * 3 times. SS to top of beg Ch3. [36DC].
Round 4 – Using the Continuous join as you go technique – Learn about it here
Join Yarn A, Ch3 (counts as DC), 2DC Ch2, 3DC Ch1, 3DC in next sp Ch1, 3DC in the next sp, Ch1, *3DC Ch2 3DC in the corner sp, 3DC in next sp, Ch1, 3DC in next sp, Ch1 *repeat from * 3 times. SS to top of beg Ch3. [36DC].
Fasten off, weave in all ends.
Make 48 (48, 60, 60, 72, 72, 84, 84, 96) granny squares in total.
Front and Back (repeat twice)
Make 24 (24, 30, 30, 36, 36, 42, 42, 48) granny squares in total
Join squares using the continuous join 4 (4, 5, 5, 6, 6, 7, 7, 8) granny squares across by 6 squares down.

Joining the squares
Squares are joined using the continuous join as you go Technique on Round 4. Line the vertical rows up so no 2 colours of squares are the same next to each other (See diagram). Alternatively, work all squares to the end of Round 4 , then join them together on WS using a neat whip stitch in yarn A
Front – sizes Small, Large, 2XL, 4XL only
Decide what is the bottom and top of the sweater. On each side (left and right), crochet the side panels.
Row 1: Join Yarn A, Ch3, make 1DC in the top if each DC along, turn.
Rows 2: Ch3, DC across. Fasten off.
Repeat on the other side.
Back – sizes Small, Large, 2XL, 4XL only
Decide what is the bottom and top of the sweater. On each side (left and right), crochet the side panels.
Row 1: Join Yarn A, Ch3, make 1DC in the top if each DC along, turn.
Rows 2-3: Ch3, DC across. Fasten off.
Repeat on the other side.
Sleeves – make 2
Worked from the bottom up. Change colour yarn every 2 rows in the following order:
Indigo, Cranberry, Indigo, Apple, Indigo, Bosenberry, Indigo, Copper, Indigo, Empire, Indigo, Mustard (repeat for as many rows as specified below).
Using yarn A FDC 30 (30, 32, 32, 34, 34, 38, 42, 44).
Row 2 (RS): Ch3 (counts as DC throughout), FPDC, *BPDC, FPDC; rep from * to end. Turn. 30 (30, 32, 32, 34, 34, 38, 42, 44) sts.
Row 3 (WS): Ch3, 2DC in first st, DC across. Turn. 31 (31, 33, 33, 35, 35, 39, 43, 45) sts.
Row 4: Repeat row 3 a further 24 (27, 28, 34, 38, 40, 38, 40, 41) times. 55 (58, 61, 67, 73, 74, 77, 83, 86) sts.
Row 5: Ch3, DC across. Turn. 12 (10, 11, 6, 0, 0, 2, 1, 0) times. 55 (58, 61, 67, 73, 74, 77, 83, 86) sts.
Shoulder Seam
Join the shoulders at the top seam, leaving 2 squares for the neck hole. Line the sleeves up so they are central on the top seam.
Full diagrams included in the PDF pattern
To make up Sleeves
Sew underarm and side sleeves. Weave in ends.
Hem (turn right side out)
Row 1: Join yarn A at the bottom of the jumper. Ch3 (counts as DC throughout), FPDC, *BPDC, FPDC; rep from * to end. SS to join.
Row 2: Ch3, FPDC, *BPDC, FPDC; rep from * to end. SS to join. Fasten off, weave in ends.

Neckline
The neckline is made by leaving 2 squares in the centre of the jumper. The number of squares either side will depend on what size you are making, and the position of the neckline depends on how many squares
See diagrams on page 11 (grey = extension rows in some sizes)
XS and S – 1 square either side, yarn joined in a corner
M and L – 1.5 squares either side. Yarn joined in the centre of the side
Xl and 2XL – 2 squares either side, yarn joined in a corner
3XL 4XL – 2.5 squares either side. Yarn joined in the centre of the side
5XL – 3 squares either side.
Row 1: Join yarn A In the position noted above. Ch3 (counts as DC throughout), FPDC, *BPDC, FPDC; rep from * to end. SS to join.
Row 2: Ch3, FPDC, *BPDC, FPDC; rep from * to end. SS to join. Fasten off, weave in ends.
Diagrams to show where to position the neck and join the yarn for each size are included in the paid pattern.
UK Crochet Terms
Ch – chain stitch
RtrB – Raised Treble Back Post
TC – Treble crochet
FTC – foundation Treble crochet
RTrF – Raised front post treble crochet
pul – pull up loop
sp (s) – space
SS – slip stitch
st(s) – stitch (es)
yrh – yarn round hook
Learn how to make a granny square here
Foundation Treble Crochet (FTC): Ch3 (counts as first 1TC), yrh, insert hook in 3rd Ch from hook, [yrh, pul, yrh, draw through 1 loop on hook (Ch made), yrh, draw through 2 loops] twice (TC made)], insert hook in last Ch made; rep [ ] for number of sts required.
Treble Crochet: yrh, insert hook in sp/ st, [yrh, pul, yrh, draw through 2 loops] twice (TC made)
Other Crochet cardigan patterns
>>>Easy Textured short Sleeved Crochet Cardigan
Back and Front
Pattern – Granny Square
Chain 4, SS to make a circle. Ch3
Round 1 (RS) Ch4, SS to make a circle. Ch3 (counts as the first TC), 2TC into loop Ch2, *3TC into the circle Ch2 *, repeat from * 3 times. SS to top beg Ch3. [12TC, 4 Ch2 sps]
Round 2(RS) SS yarn over to the Ch2 sp. Ch3 (counts as TC), 2TC Ch2, 3TC Ch1 in each corner sp around, SS to top of beg Ch3. [24TC].
Round 3 (RS) SS yarn over to the Ch2 sp. Ch3 (counts as TC), 2TC Ch2, 3TC Ch1, 3TC in next sp Ch1, *3TC Ch2 3TC in the corner sp, 3TC in next sp, Ch1 *repeat from * 3 times. SS to top of beg Ch3. [36TC].
Round 4 – Using the Continuous join as you go technique – Learn about it here
Join Yarn A, Ch3 (counts as TC), 2TC Ch2, 3TC Ch1, 3TC in next sp Ch1, 3TC in the next sp, Ch1, *3TC Ch2 3TC in the corner sp, 3TC in next sp, Ch1, 3TC in next sp, Ch1 *repeat from * 3 times. SS to top of beg Ch3. [36TC].
Fasten off, weave in all ends.
Make 48 (48, 60, 60, 72, 72, 84, 84, 96) granny squares in total.
Front and Back (repeat twice)
Make 24 (24, 30, 30, 36, 36, 42, 42, 48) granny squares in total
Join squares using the continuous join 4 (4, 5, 5, 6, 6, 7, 7, 8) granny squares across by 6 squares down.
Joining the squares
Squares are joined using the continuous join as you go Technique on Round 4. Line the vertical rows up so no 2 colours of squares are the same next to each other (See diagram). Alternatively, work all squares to the end of Round 4 , then join them together on WS using a neat whip stitch in yarn A
Front – sizes Small, Large, 2XL, 4XL only
Decide what is the bottom and top of the sweater. On each side (left and right), crochet the side panels.
Row 1: Join Yarn A, Ch3, make 1TC in the top if each TC along, turn.
Rows 2: Ch3, TC across. Fasten off.
Repeat on the other side.

Back – sizes Small, Large, 2XL, 4XL only
Decide what is the bottom and top of the sweater. On each side (left and right), crochet the side panels.
Row 1: Join Yarn A, Ch3, make 1TC in the top if each TC along, turn.
Rows 2-3: Ch3, TC across. Fasten off.
Repeat on the other side.
Sleeves – make 2
Worked from the bottom up. Change colour yarn every 2 rows in the following order:
Indigo, Cranberry, Indigo, Apple, Indigo, Bosenberry, Indigo, Copper, Indigo, Empire, Indigo, Mustard (repeat for as many rows as specified below).
Using yarn A FTC 30 (30, 32, 32, 34, 34, 38, 42, 44).

Row 2 (RS): Ch3 (counts as TC throughout), RTrF, *RTrB, RTrF; rep from * to end. Turn. 30 (30, 32, 32, 34, 34, 38, 42, 44) sts.
Row 3 (WS): Ch3, 2TC in first st, DC across. Turn. 31 (31, 33, 33, 35, 35, 39, 43, 45) sts.
Row 4: Repeat row 3 a further 24 (27, 28, 34, 38, 40, 38, 40, 41) times. 55 (58, 61, 67, 73, 74, 77, 83, 86) sts.
Row 5: Ch3, TC across. Turn. 12 (10, 11, 6, 0, 0, 2, 1, 0) times. 55 (58, 61, 67, 73, 74, 77, 83, 86) sts.
Shoulder Seam
Join the shoulders at the top seam, leaving 2 squares for the neck hole. Line the sleeves up so they are central on the top seam.
Full diagrams included in the PDF pattern
To make up Sleeves
Sew underarm and side sleeves. Weave in ends.
Hem (turn right side out)
Row 1: Join yarn A at the bottom of the jumper. Ch3 (counts as TC throughout),RTrF, *RTrB, RTrF; rep from * to end. SS to join.
Row 2: Ch3, RTrF, *RTrB, RTrF; rep from * to end. SS to join. Fasten off, weave in ends.
Neckline
The neckline is made by leaving 2 squares in the centre of the jumper. The number of squares either side will depend on what size you are making, and the position of the neckline depends on how many squares
See diagrams on page 11 (grey = extension rows in some sizes)
XS and S – 1 square either side, yarn joined in a corner
M and L – 1.5 squares either side. Yarn joined in the centre of the side
Xl and 2XL – 2 squares either side, yarn joined in a corner
3XL 4XL – 2.5 squares either side. Yarn joined in the centre of the side
5XL – 3 squares either side.
Row 1: Join yarn A In the position noted above. Ch3 (counts as TC throughout), RTrF, *RTrB, RTrF; rep from * to end. SS to join.
Row 2: Ch3, RTrF, *RTrB, RTrF; rep from * to end. SS to join. Fasten off, weave in ends.
Join me at Off The Hook For You to share your crochet!
Thanks for visiting – I’d love to stay connected with you so please sign up for my email list where a free PDF pattern is waiting for you (just so you can see what my PDF patterns are like).
Finished one of my crochet pattern makes? I’d love to see it and so would the world, so get sharing! You can find me in the following ways:
- Follow me on Pinterest
- Join my new Facebook group
- Share a picture on Instagram and tag me #offthehookforyou
- Share your projects on Ravelry
- Share your projects on LoveCrafts
Disclaimer
This post may contain affiliate links which I earn a small commission from if you choose to click and purchase anything from. You pay the same price, I get a very small amount for sending you their way. It helps me to make my crochet patterns free on the blog.


