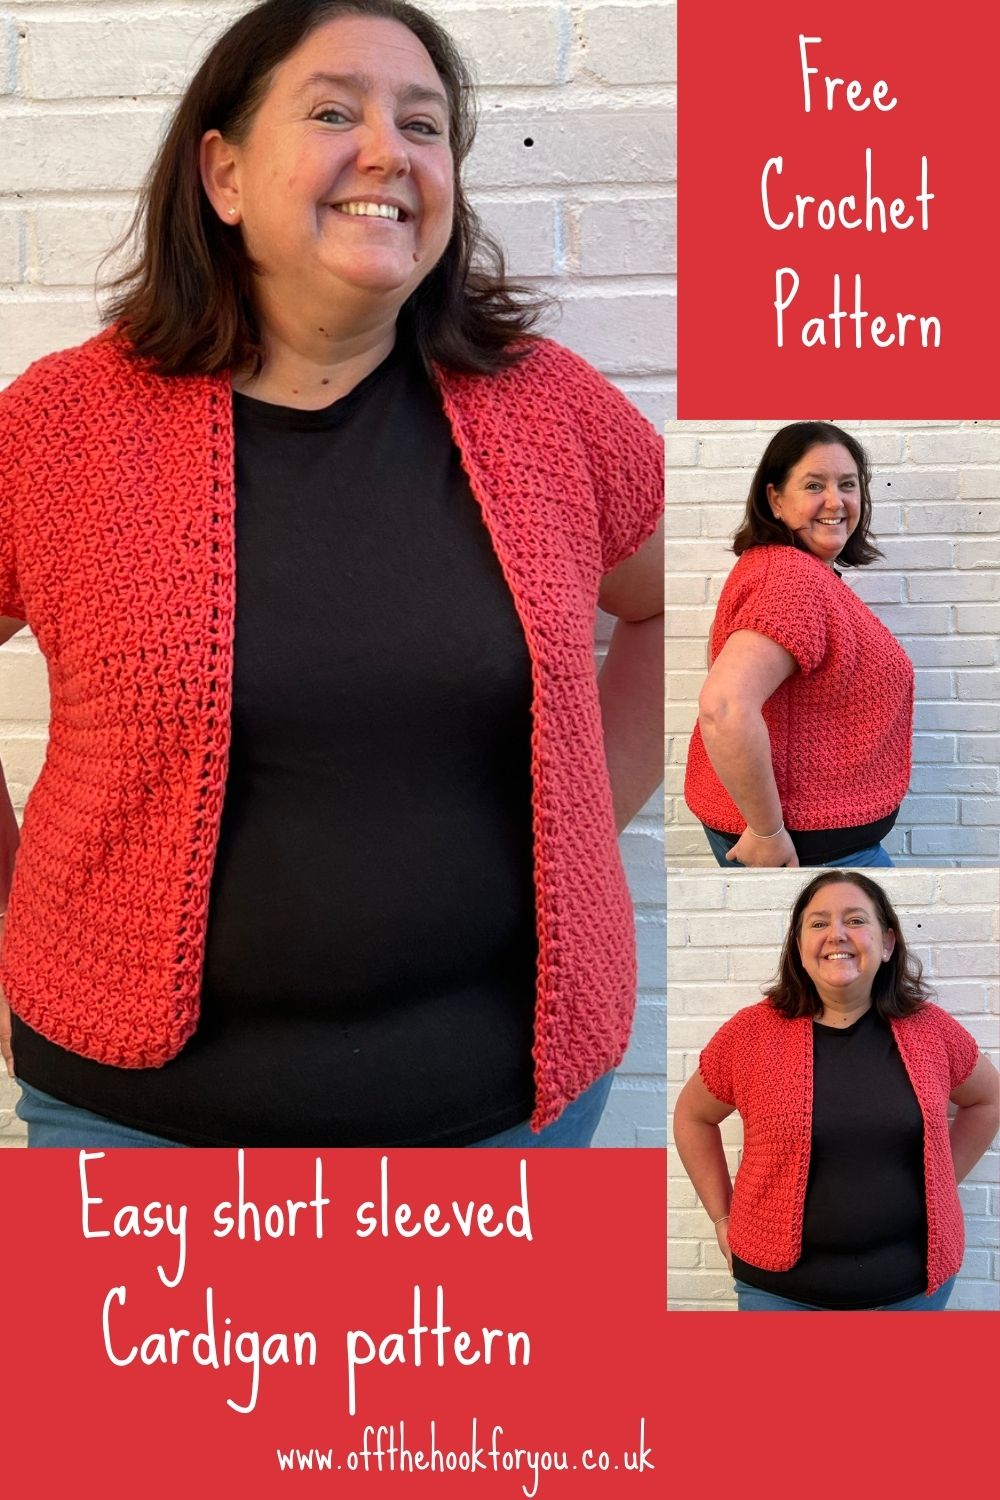
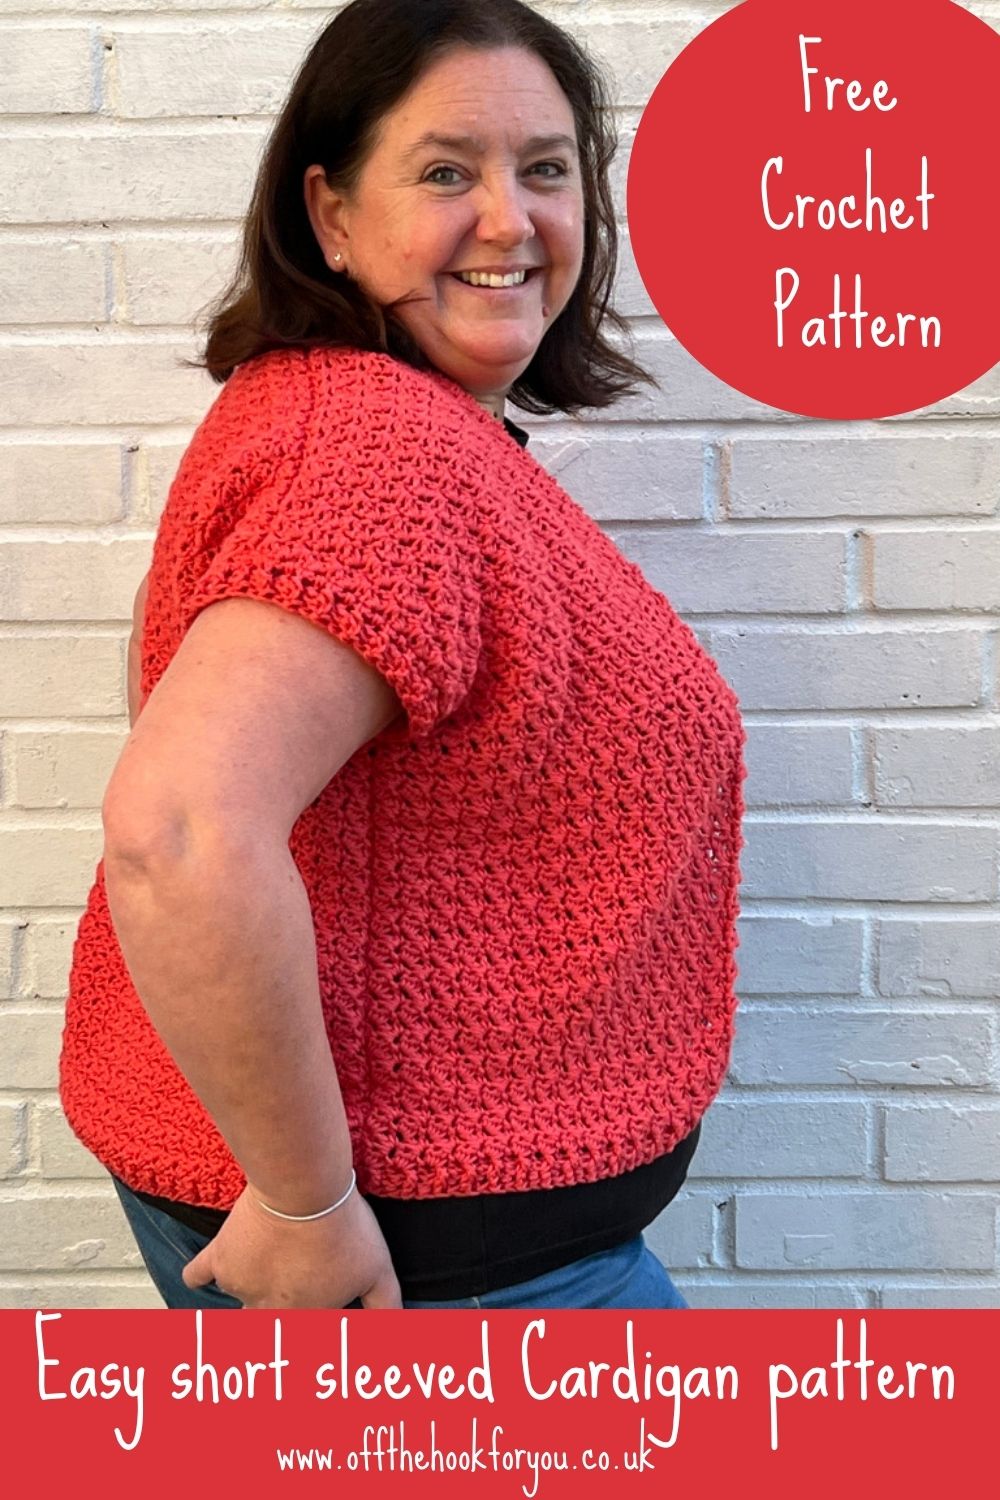
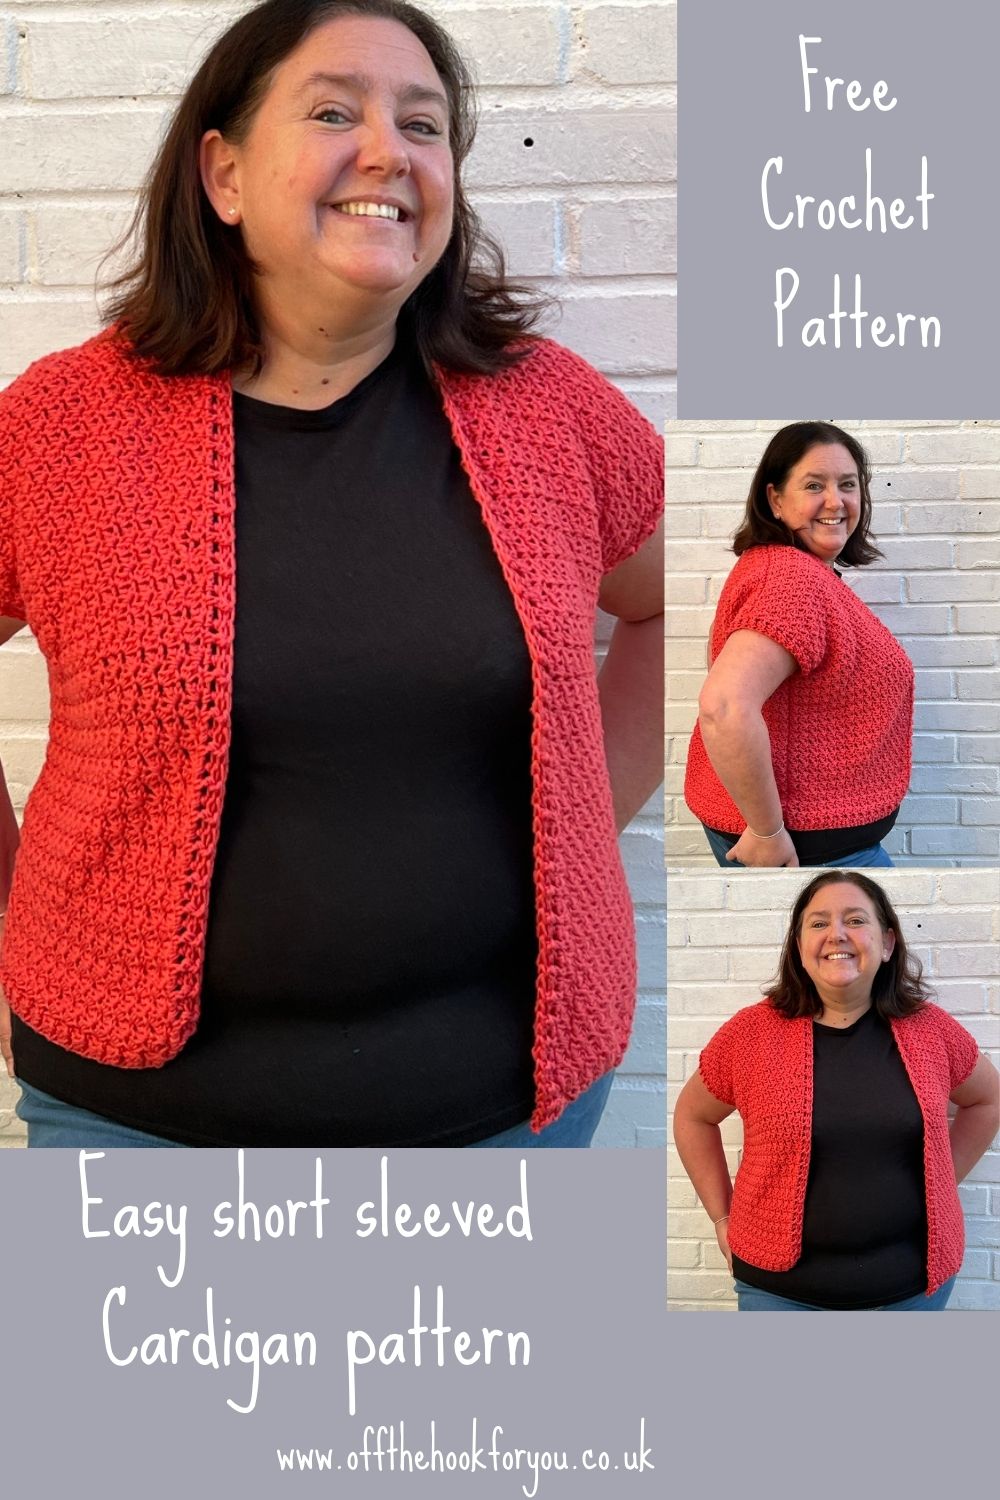
Here you can find the free pattern for a short sleeved easy textured crochet cardigan that uses the Suzette Stitch.
I love a cardigan, they give so much flexibility with an outfit, so with this free pattern it was the perfect excuse to use a new stitch, new yarn, and crochet to make an easy cardigan.
Like most of my designs, this textured crochet cardigan is surprisingly easy to make.
It’s made from 3 rectangles, and uses single and double crochets to give the effect.
If you’d like to save this for later please pin it below.
Simple and Easy Textured Crochet Cardigan
So texture, I tend to go on about crochet texture a lot. Don’t get me wrong, I love the double crochet texture, like I used in my Quick and Easy Crochet Cardigan Pattern, The Easy Stripy Cardigan and the Easy Kids Christmas Sweater.
But I’m also a fan of using really easy basic stitches together to make crochet look different, like the Suzette Stitch
See all my crochet garment designs here >>>
What stitches do you need to know to crochet a cardigan?
This design uses really simple stitches, and luckily for you, I have videos showing how to do most steps!
You’ll need to know:
- Foundation Double crochet
- Front Post Double crochet
- Back Post Double crochet
- Double crochet
- Single crochet
Suzette Stitch Cardigan
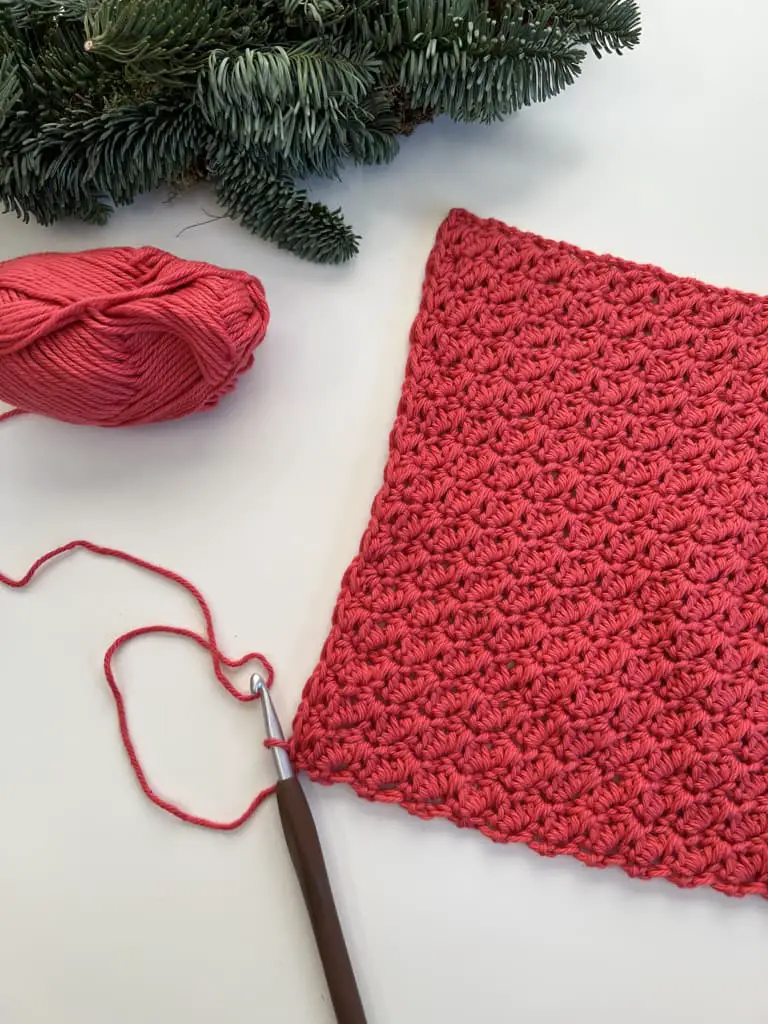
Suzette Stitch, it sounds really fancy doesn’t it? I think of France and Paris, and Crepe Suzette (pancakes with orange sauce) when I hear Suzette, but it’s also a type of crochet stitch.
Suzette stitch is made by repeating single crochet and Double crochets in the same stitch and skipping a stitch.
It’s pretty similar to the Blanket Stitch, which you can find out about here, and get the free pattern for a scarf.
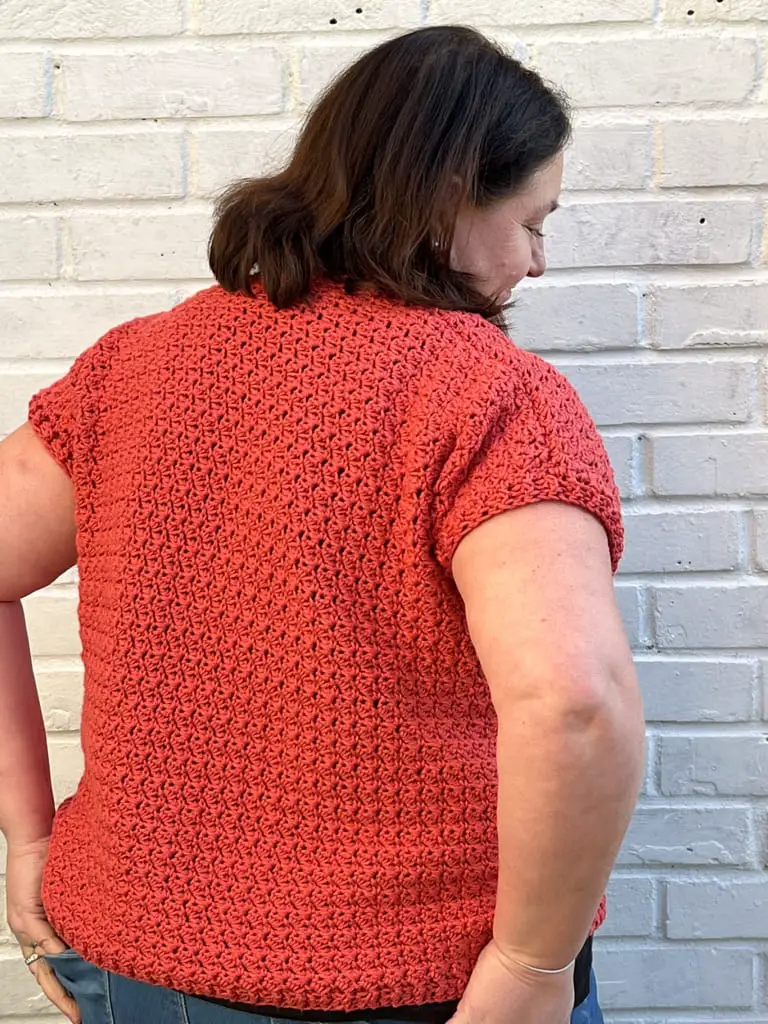
How to do the Crochet Suzette Stitch
- Each row starts with a chain 1.
- In the next stitch, make a single crochet and a double crochet.
- Skip a stitch, and make a single crochet and a double crochet in the next stitch.
- Repeat the last line across the row, and make one Single crochet in the last stitch.
- Turn your work.
- Row 2, make a single crochet and a double crochet in each single crochet from the previous row across.
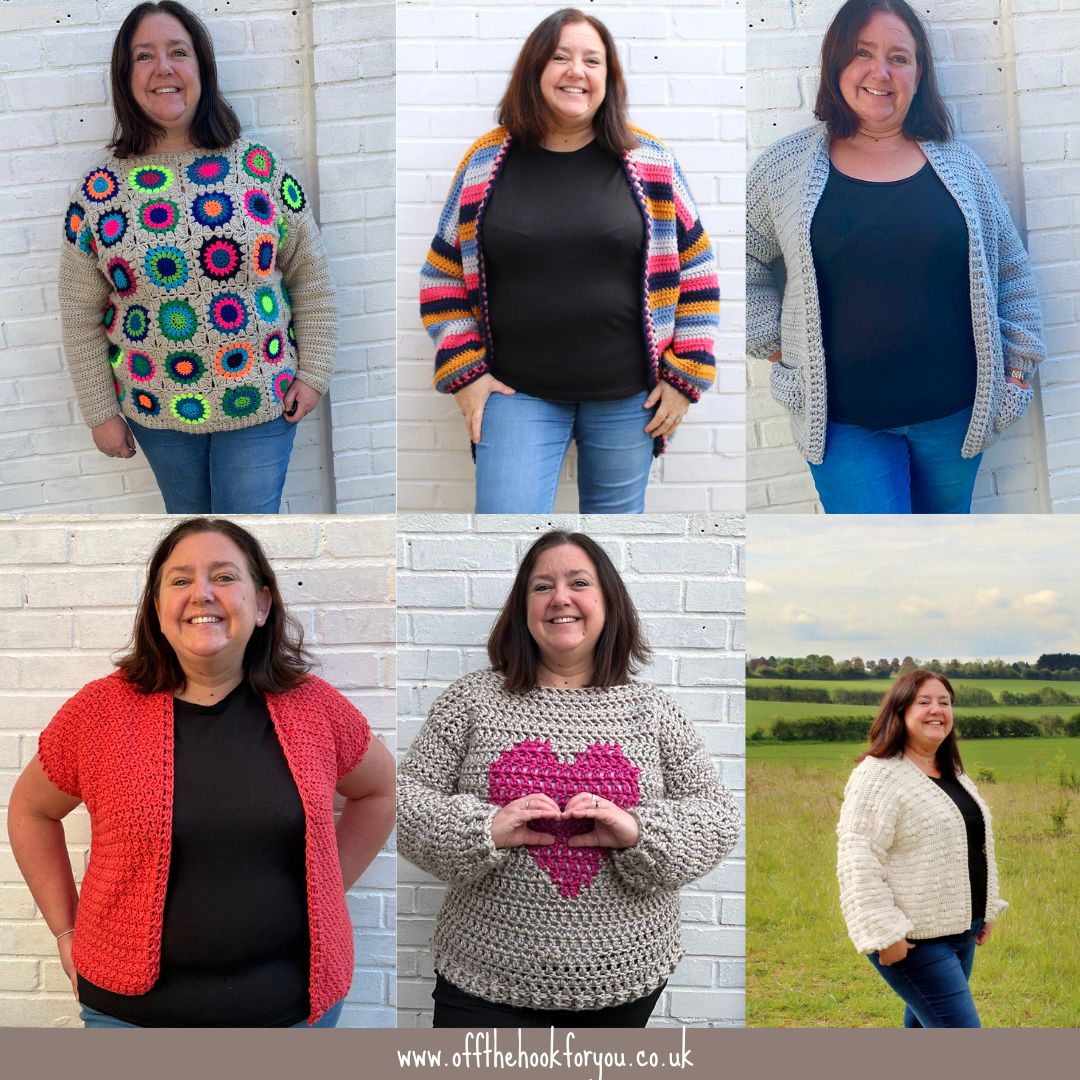
Other Crochet cardigan patterns
>>>Easy Textured short Sleeved Crochet Cardigan
Easy Textured Crochet Cardigan Pattern Options
There are a few ways you can get the crochet pattern for my Easy Textured Crochet Cardigan and enjoy this crochet pattern and help support Off the Hook for You.
- You can find and use the Easy Textured Crochet Cardigan here on the blog that is supplemented with ads.
- You can purchase, print and keep the 5 page advert-free pattern PDF in any of my shops.
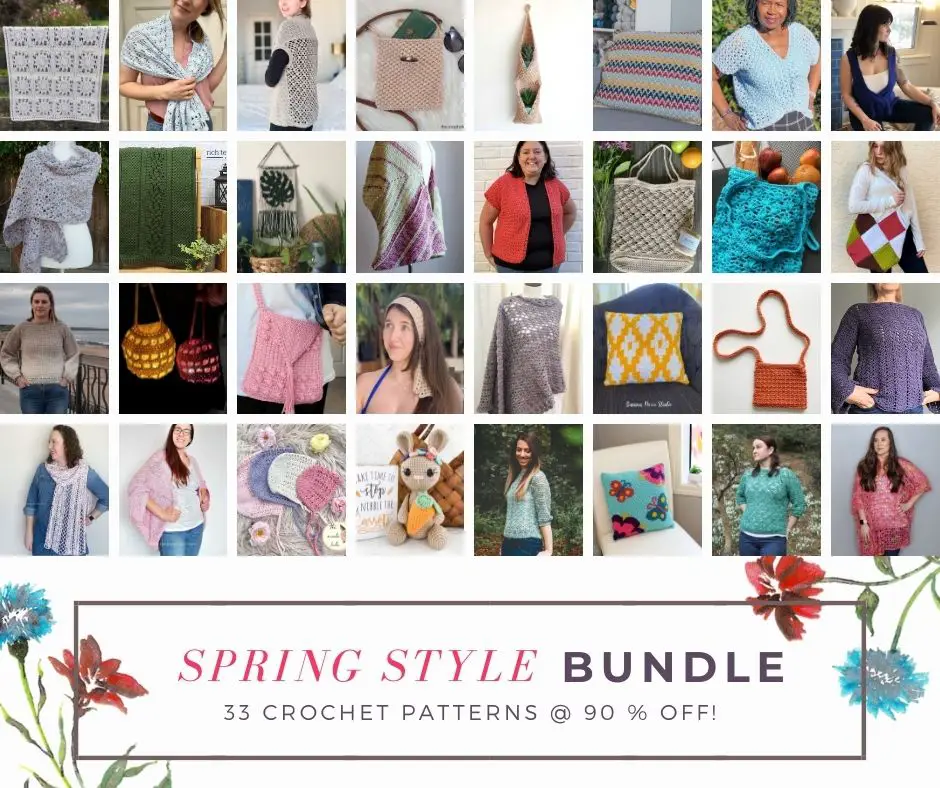
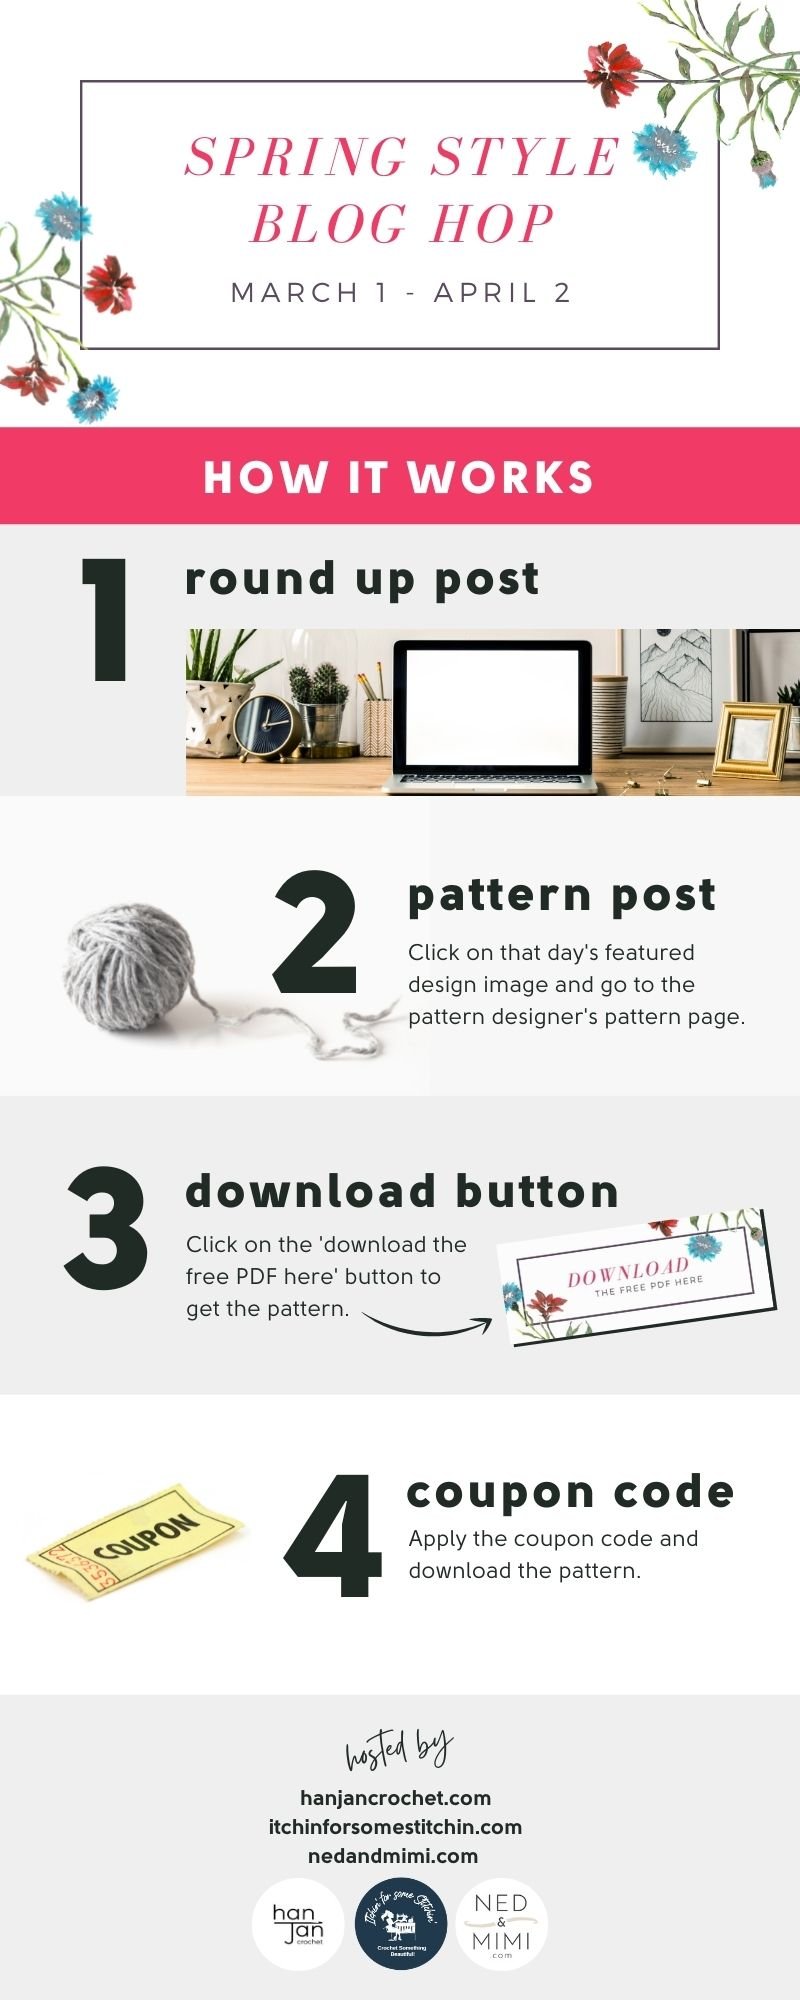
- You can take part in the Spring Style blog hop with ItchinForSomeStitchin, Ned and Mimi and Hanjan Crochet, get the free download code from one of the blogs mentioned above on the 5th March, then hop back over to me to download the pattern for free.
- Or purchase the 33 Spring patterns in a Bundle here for a HUGE 90% off.
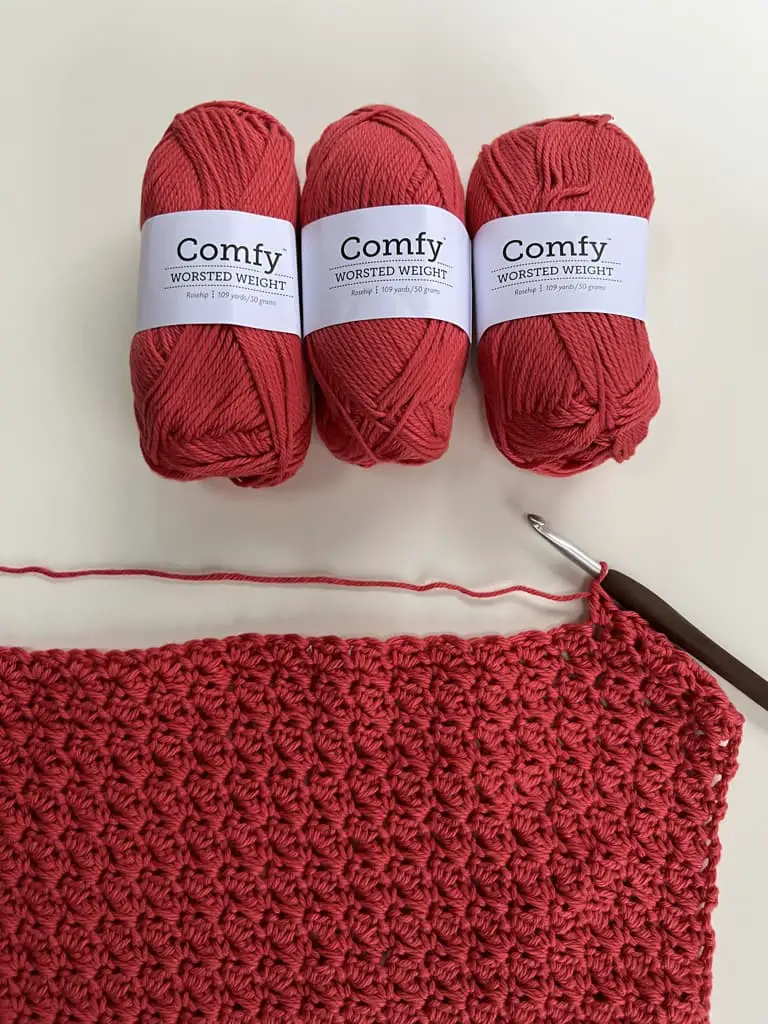
Yarn Choice for an Easy Crochet Cardigan
I was kindly gifted the yarn to make this cardigan from Wecrochet.
I chose Comfy Worsted weight which is a 75% Pima Cotton with 25% acrylic for this pattern, as I wanted a great drape that would only be achieved with a slightly heavier yarn.
This yarn comes in 34 great colours, but I knew as soon as I saw if I was going to use Rosehip, the most amazing peach/ orange colour and so summery.
My testers used Brava in worsted weight, which worked well too, as a more budget friendly option.
Easy Textured Crochet Cardigan Pattern
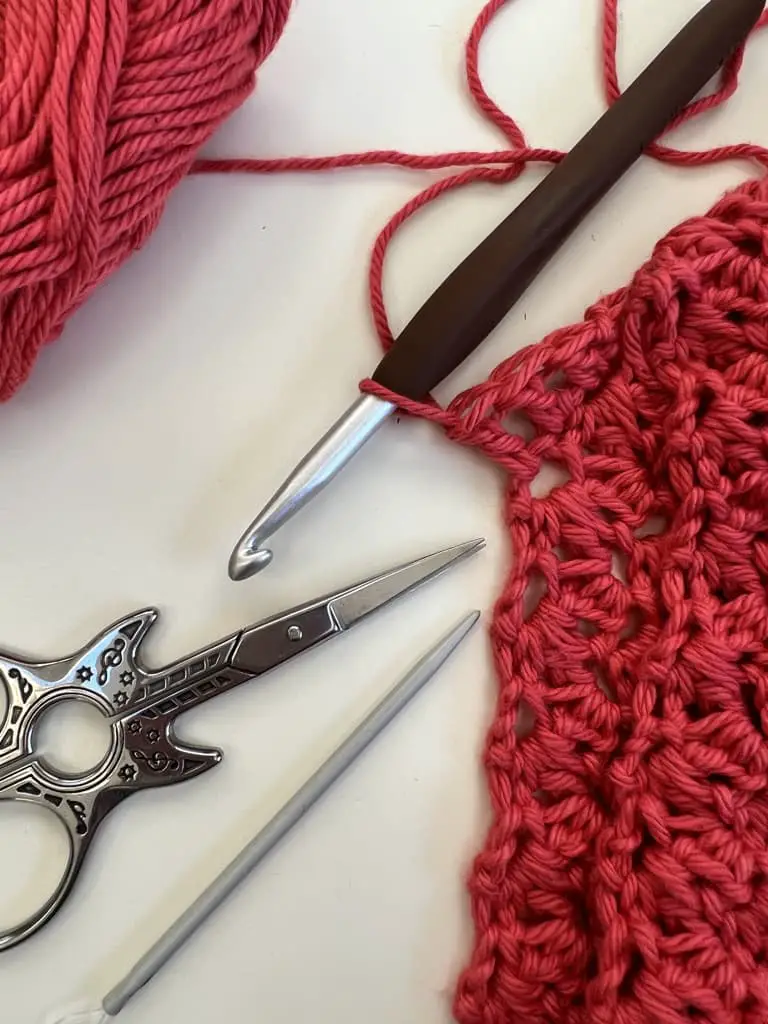
Scissors
Yarn needle
Tape measure or ruler
Pattern Notes
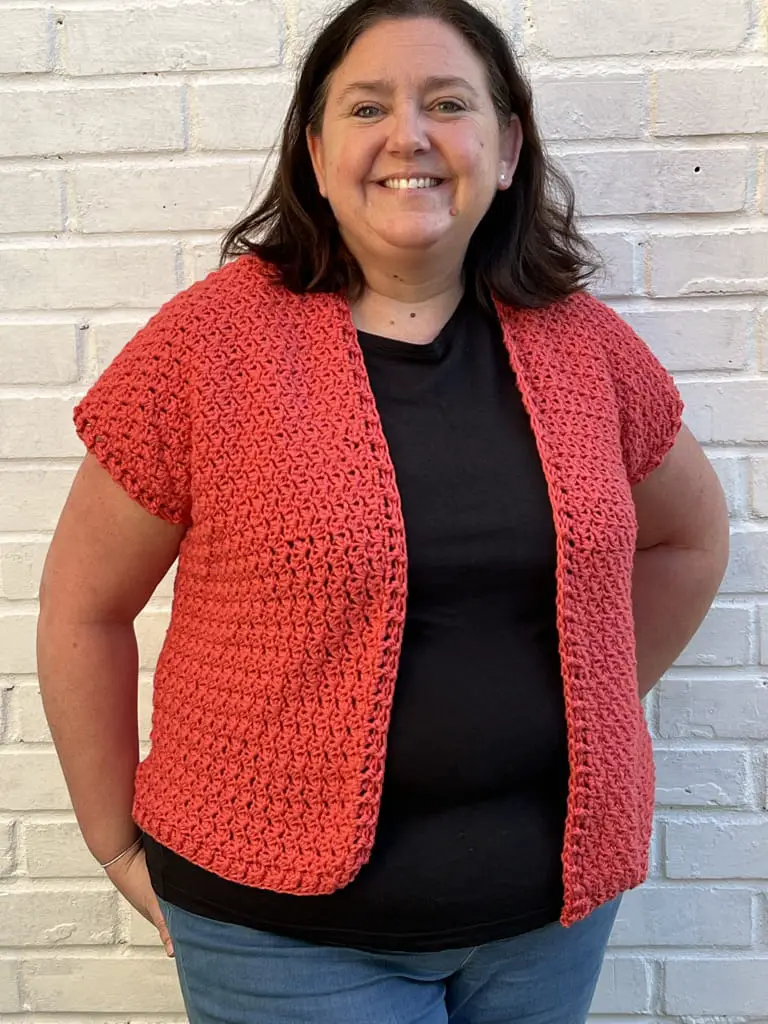
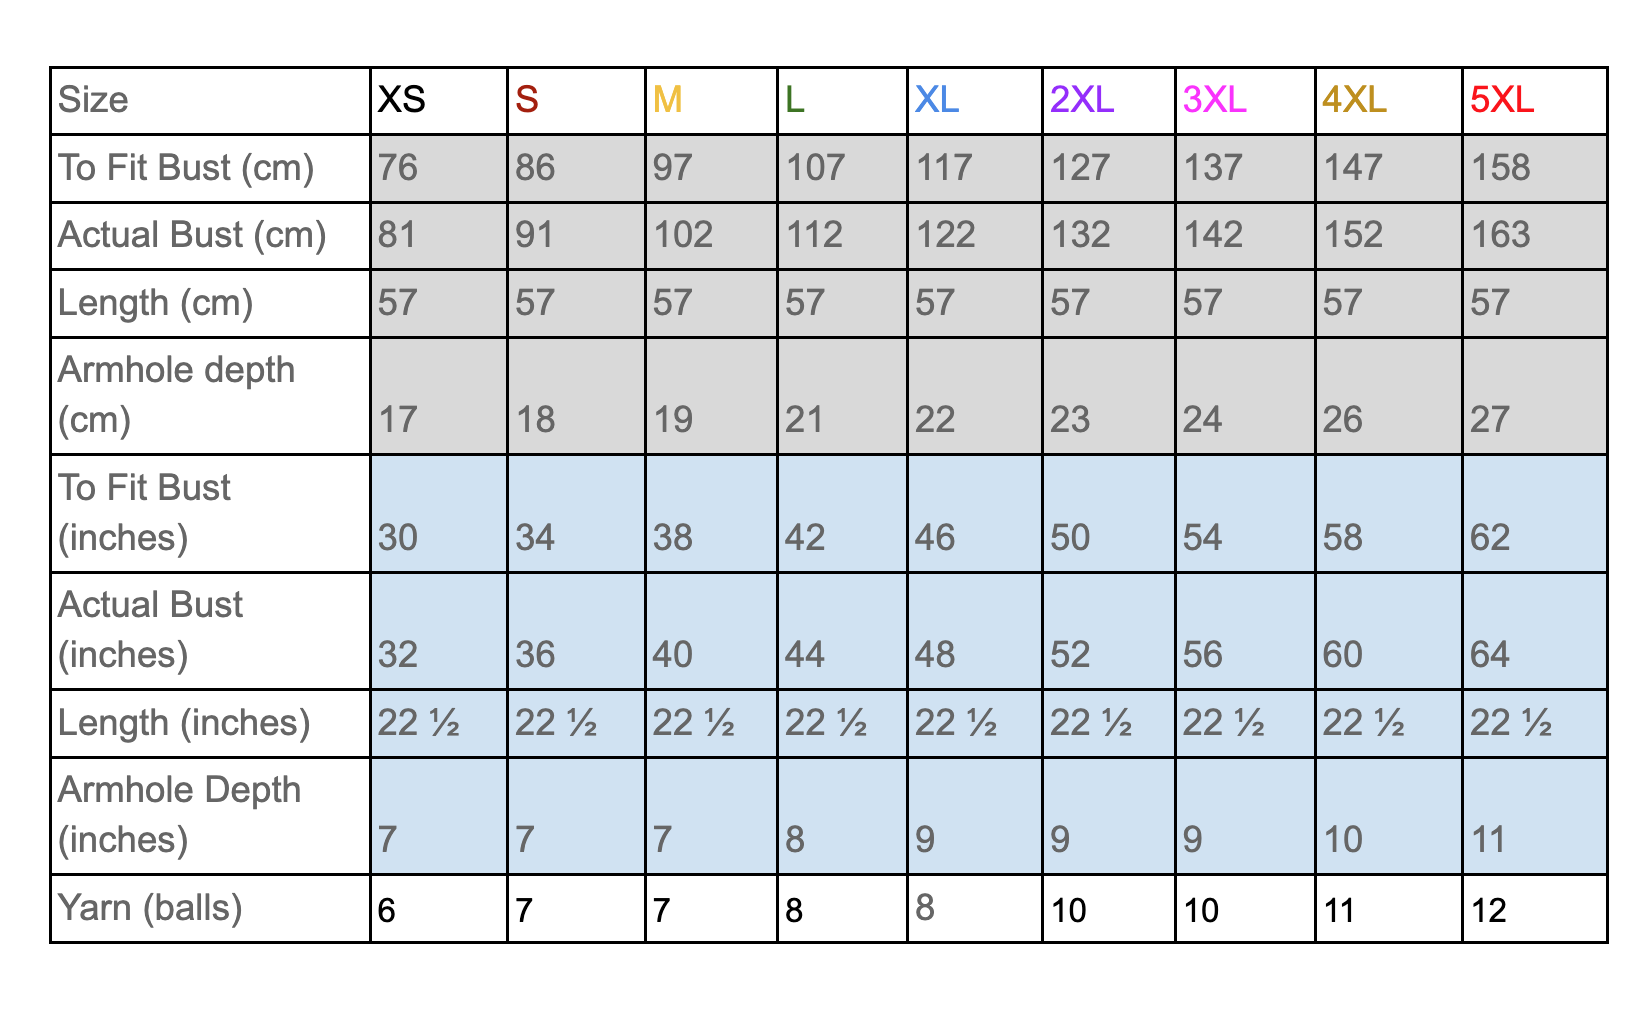
The cardigan is intended to be a generous fit with varying amounts of positive ease. Fronts and back are worked from the bottom up. The sleeves are made by crocheting around the front and back once they are sewn together. See Schematic for finished measurements.
All pieces except sleeves are worked in rows, turning at the end of each row.
The sleeves are 2 rows of crochet, worked in the round, slip stitch (ss) to join and turning at the end of each row which are made crocheting onto the finished garment.
The Ch3 at the beginning of the HEM, and edging rows of the sleeves and front counts as a stitch throughout.
The Ch1 on the texture rows does NOT count as a stitch.
Rows 1-2 on each garment piece make the hem.
The texture pattern of the cardigan starts on Row 3. Row 3 is the set up row for Row 4.
Row 4 of the pattern is repeated to the desired length to give the pattern


The stitch pattern gives a reversible panel that is the same on both sides, so there is no Right Side (RS) or Wrong Side (WS), and the pattern is not annotated as (RS) or (WS) UNTIL you have seamed the pieces together
The length of the cardigan can be changed by reducing or increasing the number of rows on both fronts and the back, to make them the same.
As a guide, I am 5ft 3in, and I wear a UK 16/18, USA 14/16 and I made an XL size.
Print the pattern and circle your size before starting.
Abbreviations – USA Terms used
Ch – chain stitch
BPDC – back post double crochet
DC – double crochet
FDC – foundation double crochet
FPDC – front post double crochet
pul – pull up loop
SC – Single Crochet
Sp – space
ss – slip stitch
st(s) – stitch (es)
yrh – yarn round hook (means the same as YO Yarn over)
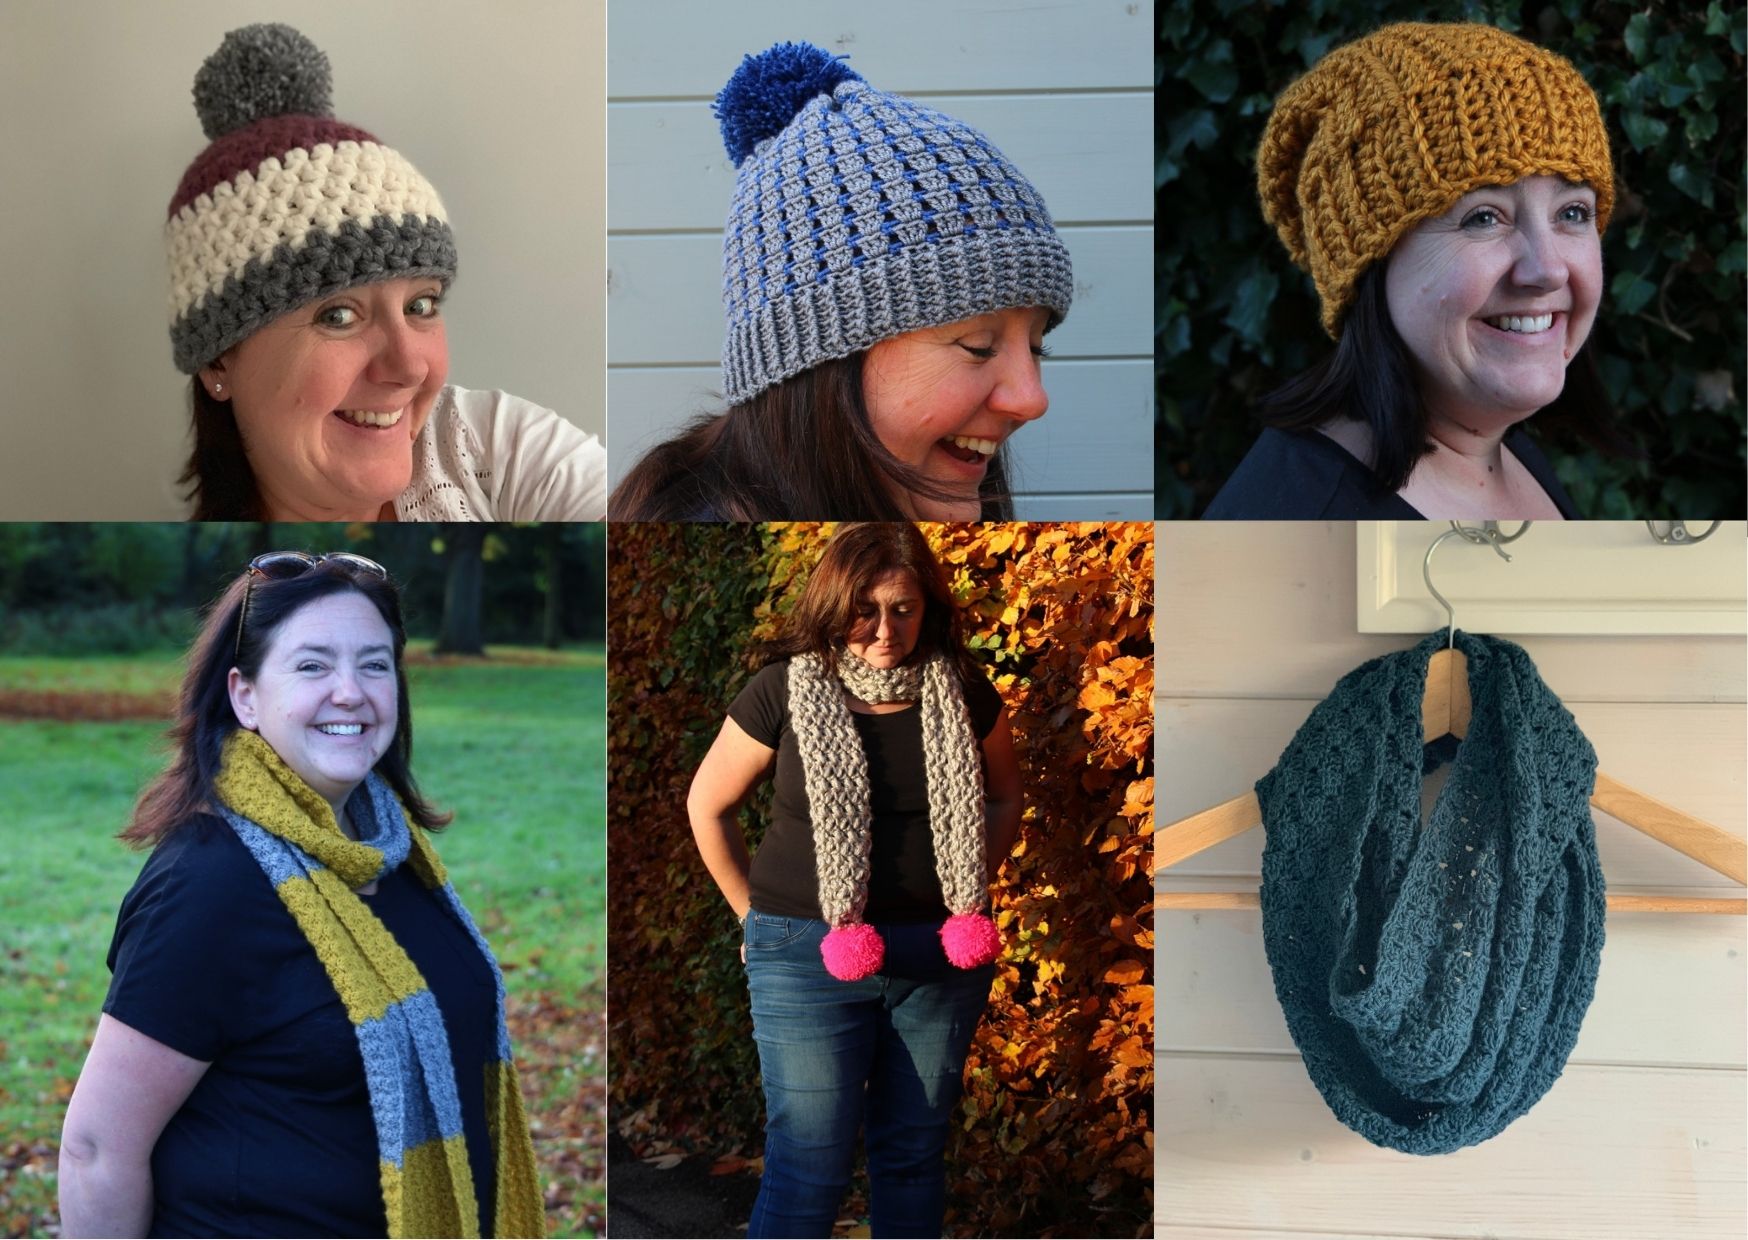
>>> 40 Minute Beanie : >>>Block Stitch Hat : >>>Quick Slouchy Beanie :
>>>Blanket Stitch Scarf : >>> Mini Bean Stitch Scarf : >>>One ball Cowl
Special Stitches
Foundation Double Crochet (FDC): Ch3 (counts as first 1DC), yrh, insert hook in 3rd Ch from hook, [yrh, pul, yrh, draw through 1 loop on hook (Ch made), yrh, draw through 2 loops] twice (DC made)], insert hook in last Ch made; rep [ ] for number of sts required.
Tension
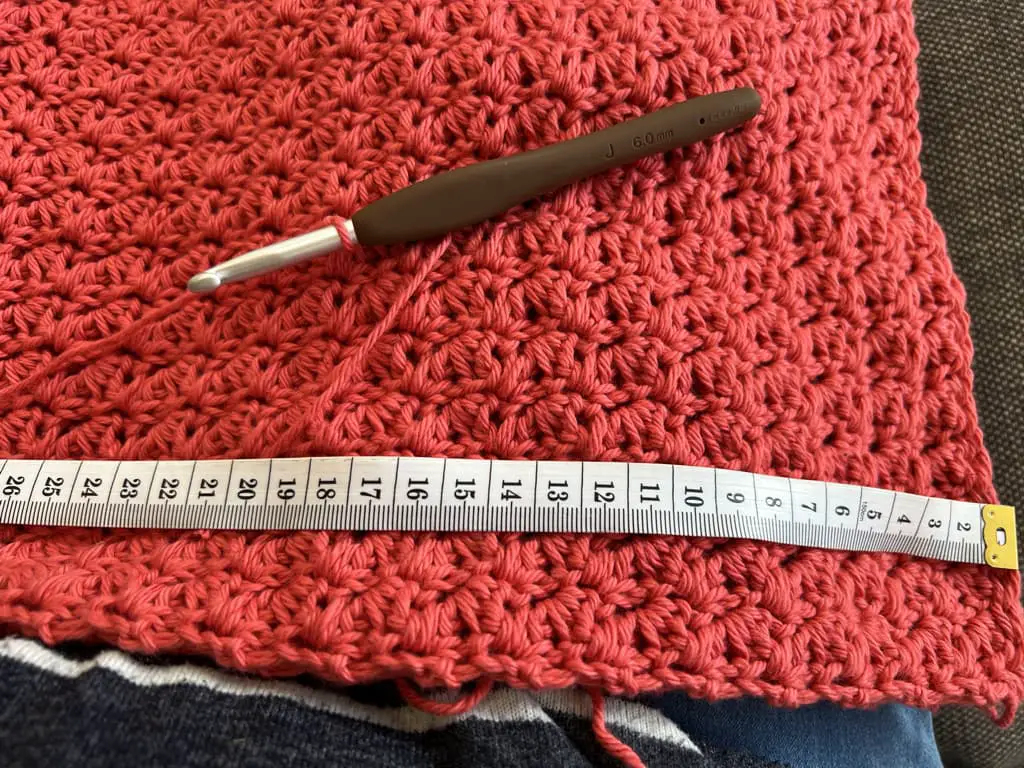
6 groups of 2 sts x 10 rows = 10cm (4 inches) measured over pattern with 6mm hook.
To make a tension square. Follow the pattern for 18 FDC as per rows 1, 2 and 3, and then repeating row 4 for 12 rows.
Sizing
Note
Pattern – USA Terms
Back
Hem
Row 1: FDC 49 (55, 61, 67, 73, 79, 85, 91, 99). Turn. 49 (55, 61, 67, 73, 79, 85, 91, 99) sts.
Row 2: Ch3 (counts as DC throughout), (*FPDC, *BPDC; rep from * to end. Turn. 49 (55, 61, 67, 73, 79, 85, 91, 99) sts.
Start the main body of the cardigan back
Row 3 : Ch1, *[SC, DC in next st, skip 1 st] rep from * to last st, SC in the last st. Turn. 49 (55, 61, 67, 73, 79, 85, 91, 99) sts.
Row 4: Ch1, *[SC, DC] in each SC across , in last SC make an SC. Turn.
Rows 5-57: Repeat row 4.
Fasten off, weave in ends.
Fronts – make 2
Hem
Row 1: FDC 19 (21, 23, 25, 29, 31, 35, 37, 41) working first FDC into 3rd Ch from hook, turn. 19 (21, 23, 25, 29, 31, 35, 37, 41) sts
Row 2: Ch3 (counts as DC throughout), FPDC, *BPDC, FPDC; rep from * to end. Turn. 19 (21, 23, 25, 29, 31, 35, 37, 41) sts
Start the main body of the cardigan Front
Row 3: Ch1, *[SC, DC in next st, skip 1 st] rep from * to last st, SC in the last st. Turn.
Row 4: Ch1, *[SC, DC] in each SC across in each st across, in last SC make an SC. Turn.
Rows 5-57: Repeat row 4.
Fasten off, weave in ends.
Sleeves are made after the cardigan is joined together.
To join the cardigan
Place fronts on the back. Join at shoulders, matching Fronts and Back stitch for stitch (Figure 2). Sew shoulder seams.
Note: The side where the seam is visible is now the Wrong side (WS) of the cardigan, and the RS of the cardigan you can not see the seams.
Sew the side seams from the bottom of the cardigan hem, up towards the shoulders leaving a 17, 18, 19, 21, 22, 23, 24, 26, 27cm gap (7, 7, 7, 8, 9, 9, 9, 10, 11 inches) for the sleeves (Figure 3). Fasten off weave in all ends.
Sleeves
With WS facing, join yarn.
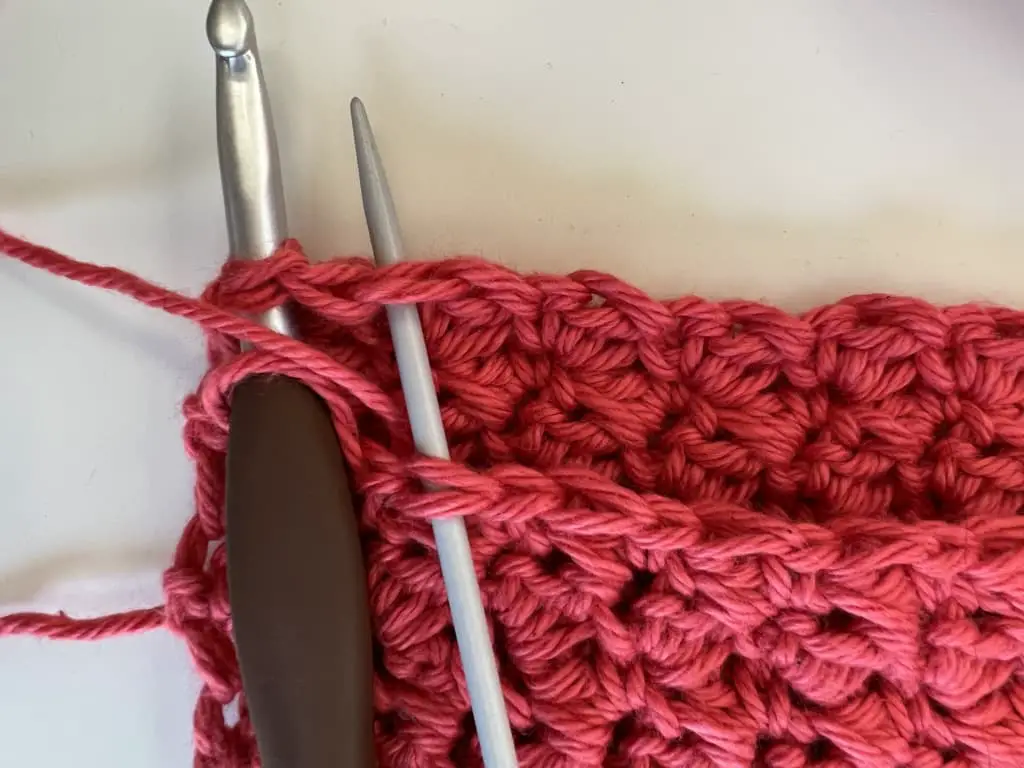
Round 1: Ch3 and work 1 DC in each Ch1 sp and SC. (see Figure 4). SS to join. Turn.
Round 2: Ch3 *FPDC, BPDC; rep from * to end. Turn. Fasten off, weave in ends.
Repeat for each sleeve.
Front Ribbing
With RS facing , join yarn at the bottom of the right front. Working evenly around the front opening.
Row 1: Ch3 and work 1 DC in each Ch1 sp and SC. Turn.
Row 2:Ch3 *FPDC, BPDC; rep from * to end.
Fasten off, weave in ends.
Turn right side out.
Join me at Off The Hook For You to share your crochet!
Thanks for visiting – I’d love to stay connected with you so please sign up for my email list where a free PDF pattern is waiting for you (just so you can see what my PDF patterns are like).
Finished one of my crochet pattern makes? I’d love to see it and so would the world, so get sharing! You can find me in the following ways:
- Follow me on Pinterest
- Join my new Facebook group
- Share a picture on Instagram and tag me #offthehookforyou
- Share your projects on Ravelry
- Share your projects on LoveCrafts
Disclaimer
This post may contain affiliate links which I earn a small commission from if you choose to click and purchase anything from. You pay the same price, I get a very small amount for sending you their way. It helps me to make my crochet patterns free on the blog.


