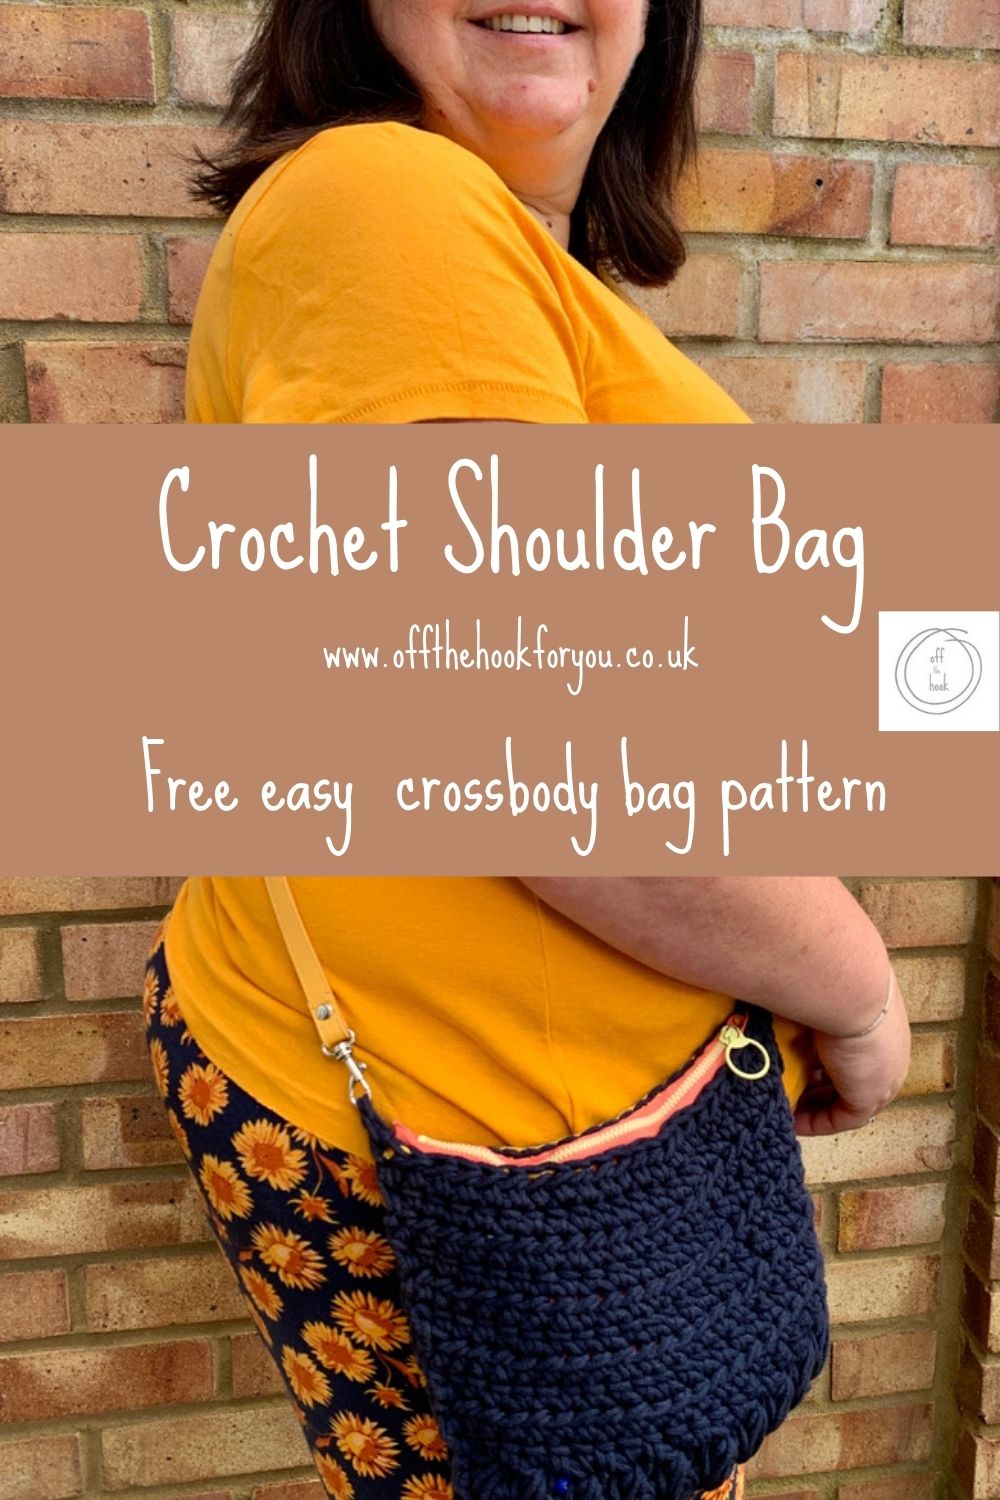
I love a crochet bag, and have always said I don’t think you can ever have too many crochet bags, but it wasn’t until this pattern I’m sharing with you today that I’ve actually made a crochet handbag, also know as a cross body or shoulder bag.
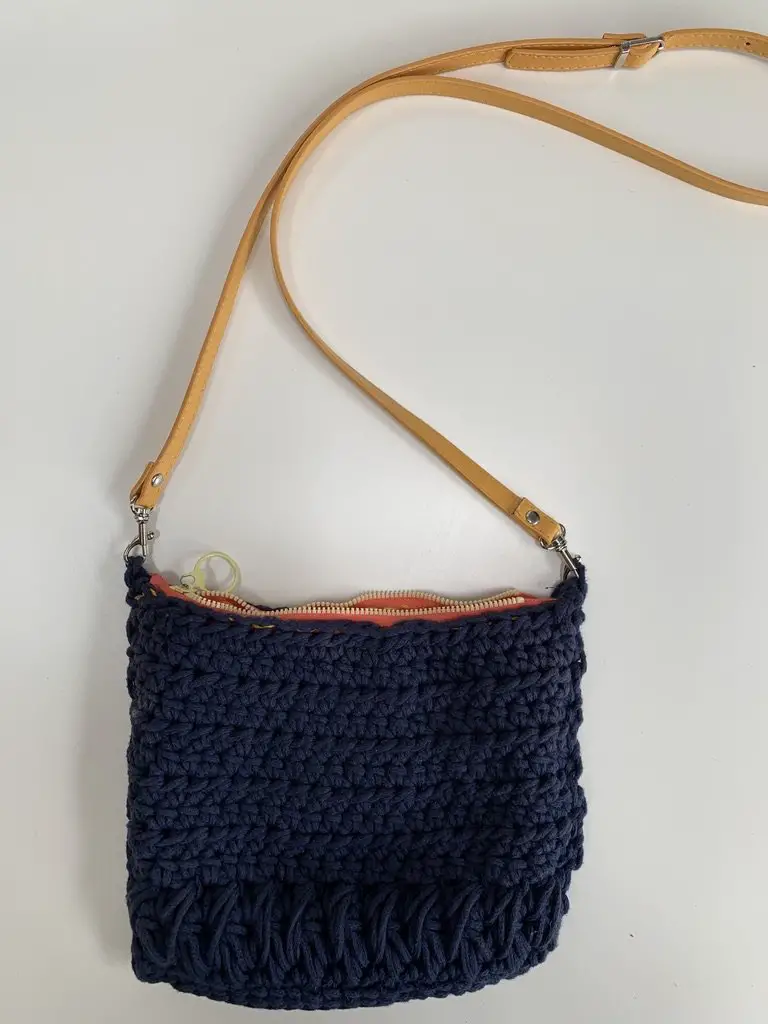
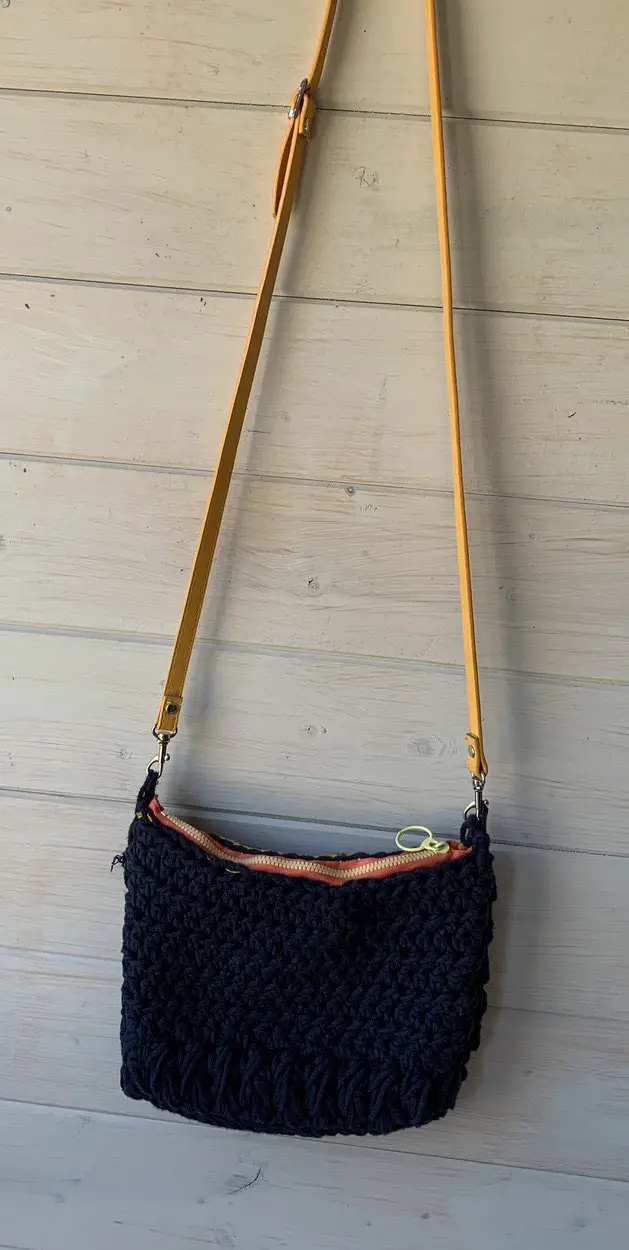
Now I must admit, this is my absolute favourite bag I’ve crocheted. It’s a cross body, shoulder style design, that is the perfect size for a few essentials!
My kids are now of an age when I don’t need to take the whole contents of my house with them, “just in case”. This crochet pattern was designed to hold with ease: a purse, phone (cell), keys, face mask, hand sanitiser…… all the every day essentials!
If you want to save this for later, please Pin it below.
How do you crochet a simple shoulder bag?
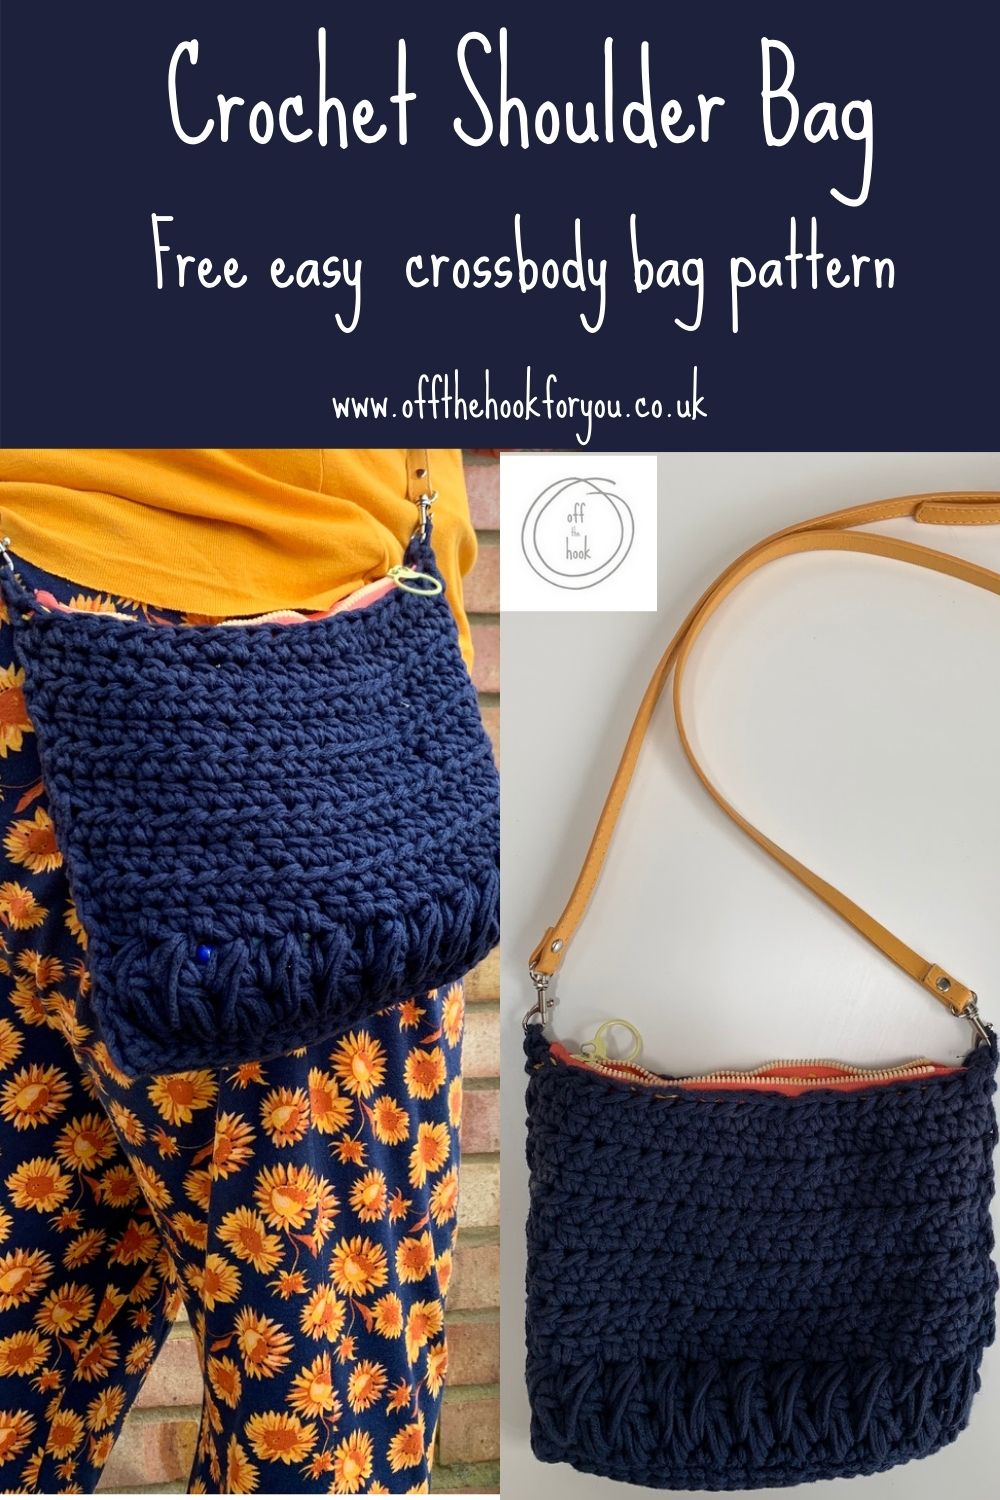
This crochet handbag is made by crocheting 2 identical “squares” then crocheting them together along the outside edge.
I’ve then sewn in a zipper, and attached a cross body strap bought online.
How do you crochet a small bag for beginners?
The finished bag size is 20x 25 cm (8×10 inches), so a good sized bag, and this is really sturdy due to the yarn I’ve used.
As mentioned above, the easiest bag to make is from two squares, crocheted or sewn together on 3 sides, before sewing in a zipper.
You can line the bag, but as the yarn is so sturdy, I didn’t need to for this bag pattern.
What I should add here, is this handbag has been in daily use since I made it almost a year ago when these photos were taken, and you can see the bag is still the same shape as when it was made. I think this bag will last a long time!


Yarn for a sturdy shoulder bag
Yarn here was absolutely key. I wanted a summer crochet bag, so was steering clear of “wool” based yarn.
I’d made a crochet cotton boho bag a couple of years ago, and it was very lightweight, but lost its shape really quickly, and was just too thin (and it needed lining).
So this bag, I went straight for the heavy weight cotton.
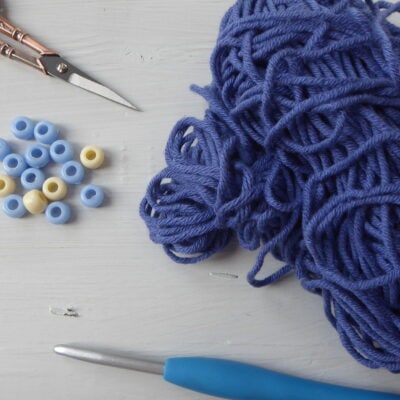
Hobbycraft (a big UK craft store), does a great range in Macrame Rope called “Return of the Mac”. This is a great macrame rope, as it comes is so many bright colours!
I had a few balls of this in my stash, as they did a great 3 for 2 offer, so I grabbed some, to see what I could crochet. (Little did I realise how much I would use this bag at the time!)
Alternative yarn
Having done a little research, Bobbiny macrame cord, 5mm , that you can get from Etsy would be a great substitute. Very hard wearing, and it comes in so many colours too!

Stitches for the Easy Crochet Handbag
The bag is started using Foundation Half double crochet.
If you’ve followed me for a while you’ll know this is my go too way to start any project that usually you’d use a chain for…….. as it doesn’t twist, and it gives a lovely straight edge.
Find out how to Foundation HDC here>>>
Then we use Half Double Crochet to give a closed stitch, but that grows fast!
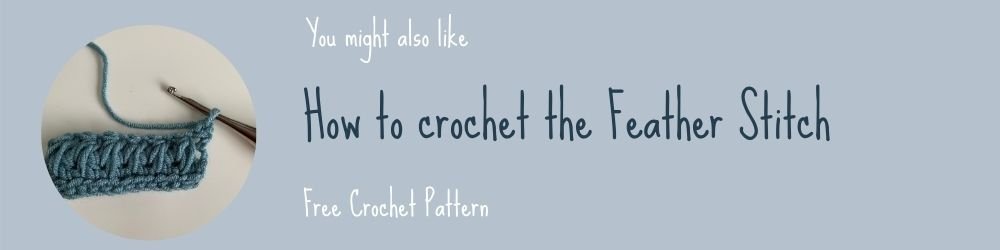
Combine this with the Feather stitch – my new all time favourite as it looks pretty and doesn’t have a right or a wrong side!
>>>Learn all about the Feather Stitch here
Just look at the texture! It’s made by “pulling through the yarn at different point in the rows and stitches before to give a feather effect. Think of it like a puff stitch, saving all the loops until the end, but where you put your hook to grab the yarn changes. It’s as simple as that!
I decided not to give the whole bag this effect as it’s a bit of yarn eater, and I didn’t want to over shadow the 2 rows of texture at the bottom.
Why not a crochet strap for the crochet shoulder bag?
I made the decision with this bag, for cost reasons, but also to enable me to accessorise it better to have a removable strap. If you decide to crochet a bag strap follow the tips below:
To crochet a bag strap
5 Foundation HDC to start (leave a long tail- as this can be used for sewing),
Work a ch2, 4HDC across, and keep crocheting until a length of 120cm/ 48 inches.
Fasten off (Leaving a long end), and sew one end to each side of the bag.
Inserting the Zipper
This was where my stash of anything craft came into its own as I already owned a lot of zippers after being swayed by their many colours. I chose one that kind of matched the strap (yellow), but ideally I’d of had a bright yellow one, or even a navy blue one to match the bag then I really could use interchangeable straps!
Crochet Handbag Pattern
Finished Size
25 x 20cm (10 inches x 8 inches)
Tension
9 sts x 7 rows =- 10cm x 10 cm (4 inches x 4 inches) over HDC pattern
Yarn and Equipment
7 mm hook
Scissors
Abbreviations USA Terms
Ch – Chain
DC – double crochet
Pul – Pull through
Sk – Skip stitch
Sp – space
SS – Slip Stitch
st – Stitch
YO – Yarn Over
Special Stitches
Feather stitch : I have a whole photo tutorial here>>>
- Yarn over, go through the chain sp of the previous row, pull up the loop (3 loops)
- Yarn over, go through the top of the FHDC of the row below, pull up the loop (make sure the same height as the previous loop) (5 loops)
- Yarn over, go through the next chain sp, pull up a loop to the same height as the loops before (7 loops).
- Yarn over, pull through all 7 loops.
- Chain 1
FHDC – Or learn how to do it here>>>
Foundation Half Double Crochet (FHDC): Ch2 (counts as first 1HDC), YO, insert hook in 3rd Ch from hook, [YO, Pul, YO, draw through 1 loop on hook (Ch made), YO, draw through all 3 loops], insert hook in last Ch made; rep [ ] for number of sts required.
Hints and tips
There is no wrong or right side to the squares.
Ch1 at the beginning of each feather stitch row does not counts as a stitch.
Ch2 at the beginning of the HDC rows DOES count as a stitch.
Crochet Shoulder Bag Pattern
Make 2
Row 1: With yarn A and. 7mm hook, FHDC 24. Turn
Row 2: Ch1 (Does not count as a stitch) HDC in the same st, [skip 1 st, 1HDC Ch1] – repeat across making 1HDC in the top of the Ch2 from the FHDC row.
Row 3 and 4: Ch1, HDC, feather stitch across.
Row 5: HDC in top of each feather stitch and sp across.
Row 6-15: Ch2 HDC across. Fasten off, weave in ends.
To make up
Place the two panels on top of each other so the feather stitch is at the bottom.
Join in a top corner chain 6, slip stitch to the other panel (To make a loop for the handle to join), crochet them together using slip stitch to give a defined edge around 3 sides, chain 6, and slip stitch to the other panel. Fasten off, weave in ends.
Sew a zipper (zip) into the open edge, attach handle, and enjoy your new bag!
If you want to save for this later, please Pin it here.